Custom Dress: The Suede Dress
The Suede Dress
Custom Made. Original Design.
‘Where did you get that dress?!’
‘Its an original.’
The answer we dream of giving when asked about a particularly flattering outfit we are proudly debuting that day. And an answer that I love making a reality for anyone.
When a fashion-enthusiast friend approached me about dressing her for one of her favorite mid-western themed events, I jumped at the chance.
When she went on to say the textile of choice for this dress wouldn’t be ordinary, she had my undivided attention. Suede. Luxurious, natural, soft but structured, and to top it off…a material I had never actually used in dressmaking before.
So I said what any tailor would say when someone asked them to make clothing out of a totally non-traditional content they have little experience with… Of course!
And off we went…
The custom process of creating clothing has as much to do with the personal client interaction as it does with the design and construction of the piece itself.
Hence, the process began at one of my favorite coffee shops in town with a few swatches of leather and some rough sketches drawn up in a backroom at my husband’s Army unit a few days before (there’s nothing like hundreds of people milling around you all wearing literally the exact same thing to inspire a wildly original new design).
After feeling the suede samples and picking through the penciled sketches over coffee together I begun to sense the details that attracted her and the cut and fit that she preferred. I used these pieces of information to puzzle together a final design and presented the fleshed out dress concept to her which was luckily met with delight.
The original sketch of for the dress design.
With the design approved, the most challenging part of the process begins. The fittings.
We begin with a multitude of measurements. Bust, waist, hips…all the way to neck width and arm length. These measurements are the basis for sculpting a first sample of the dress but the slight nuances of our bodies layer on the complexity in getting everything just right.
I begin with a ‘block’ of a simple dress. ‘Blocks’ and ‘patterns’ are essentially used as the blueprint for a garment. Now, you can go one of two ways at this stage depending on what kind of designer you are: either you’re a draper or a drafter. Meaning; you can drape sample fabric (muslin) onto a dress form and shape the dress in 3D or you can draft in pencil on paper using the measurements and knowledge of body shape as your guide.
I am a drafter. I sketch out the loose shapes of the dress on large scale graph paper and then slowly ease the lines in and out along the sides, armhole, neckline etc. drawing, erasing, re-drawing, re-erasing….to match my preliminary measurements.
Now, the first sample can be cut. I’ll make as many samples as necessary in a fabric as close to the final garments’ weight as possible and work to get the fit just right. This will often take 2,3, maybe 4 (or more) fittings depending on the complexity of the design and the details involved.
With the fitting and drafting adjustments made over the course of a few weeks, we’re ready to dive into this beautiful leather, a warm golden suede.
Here you see the leather smoothed and prepped for cutting. *Side note: the stamp in the bottom left corner gives us specific details about this particular hide and its source.
Here you can see that I've used my paper pattern pieces to actually trace directly onto the leather. Unlike fabric, the paper pattern pieces can’t be pinned to the leather as the pins would leave unsightly holes! I also don't have a rotary mat big enough to just weight the leather down and start slicing away.
Careful cutting ensues…
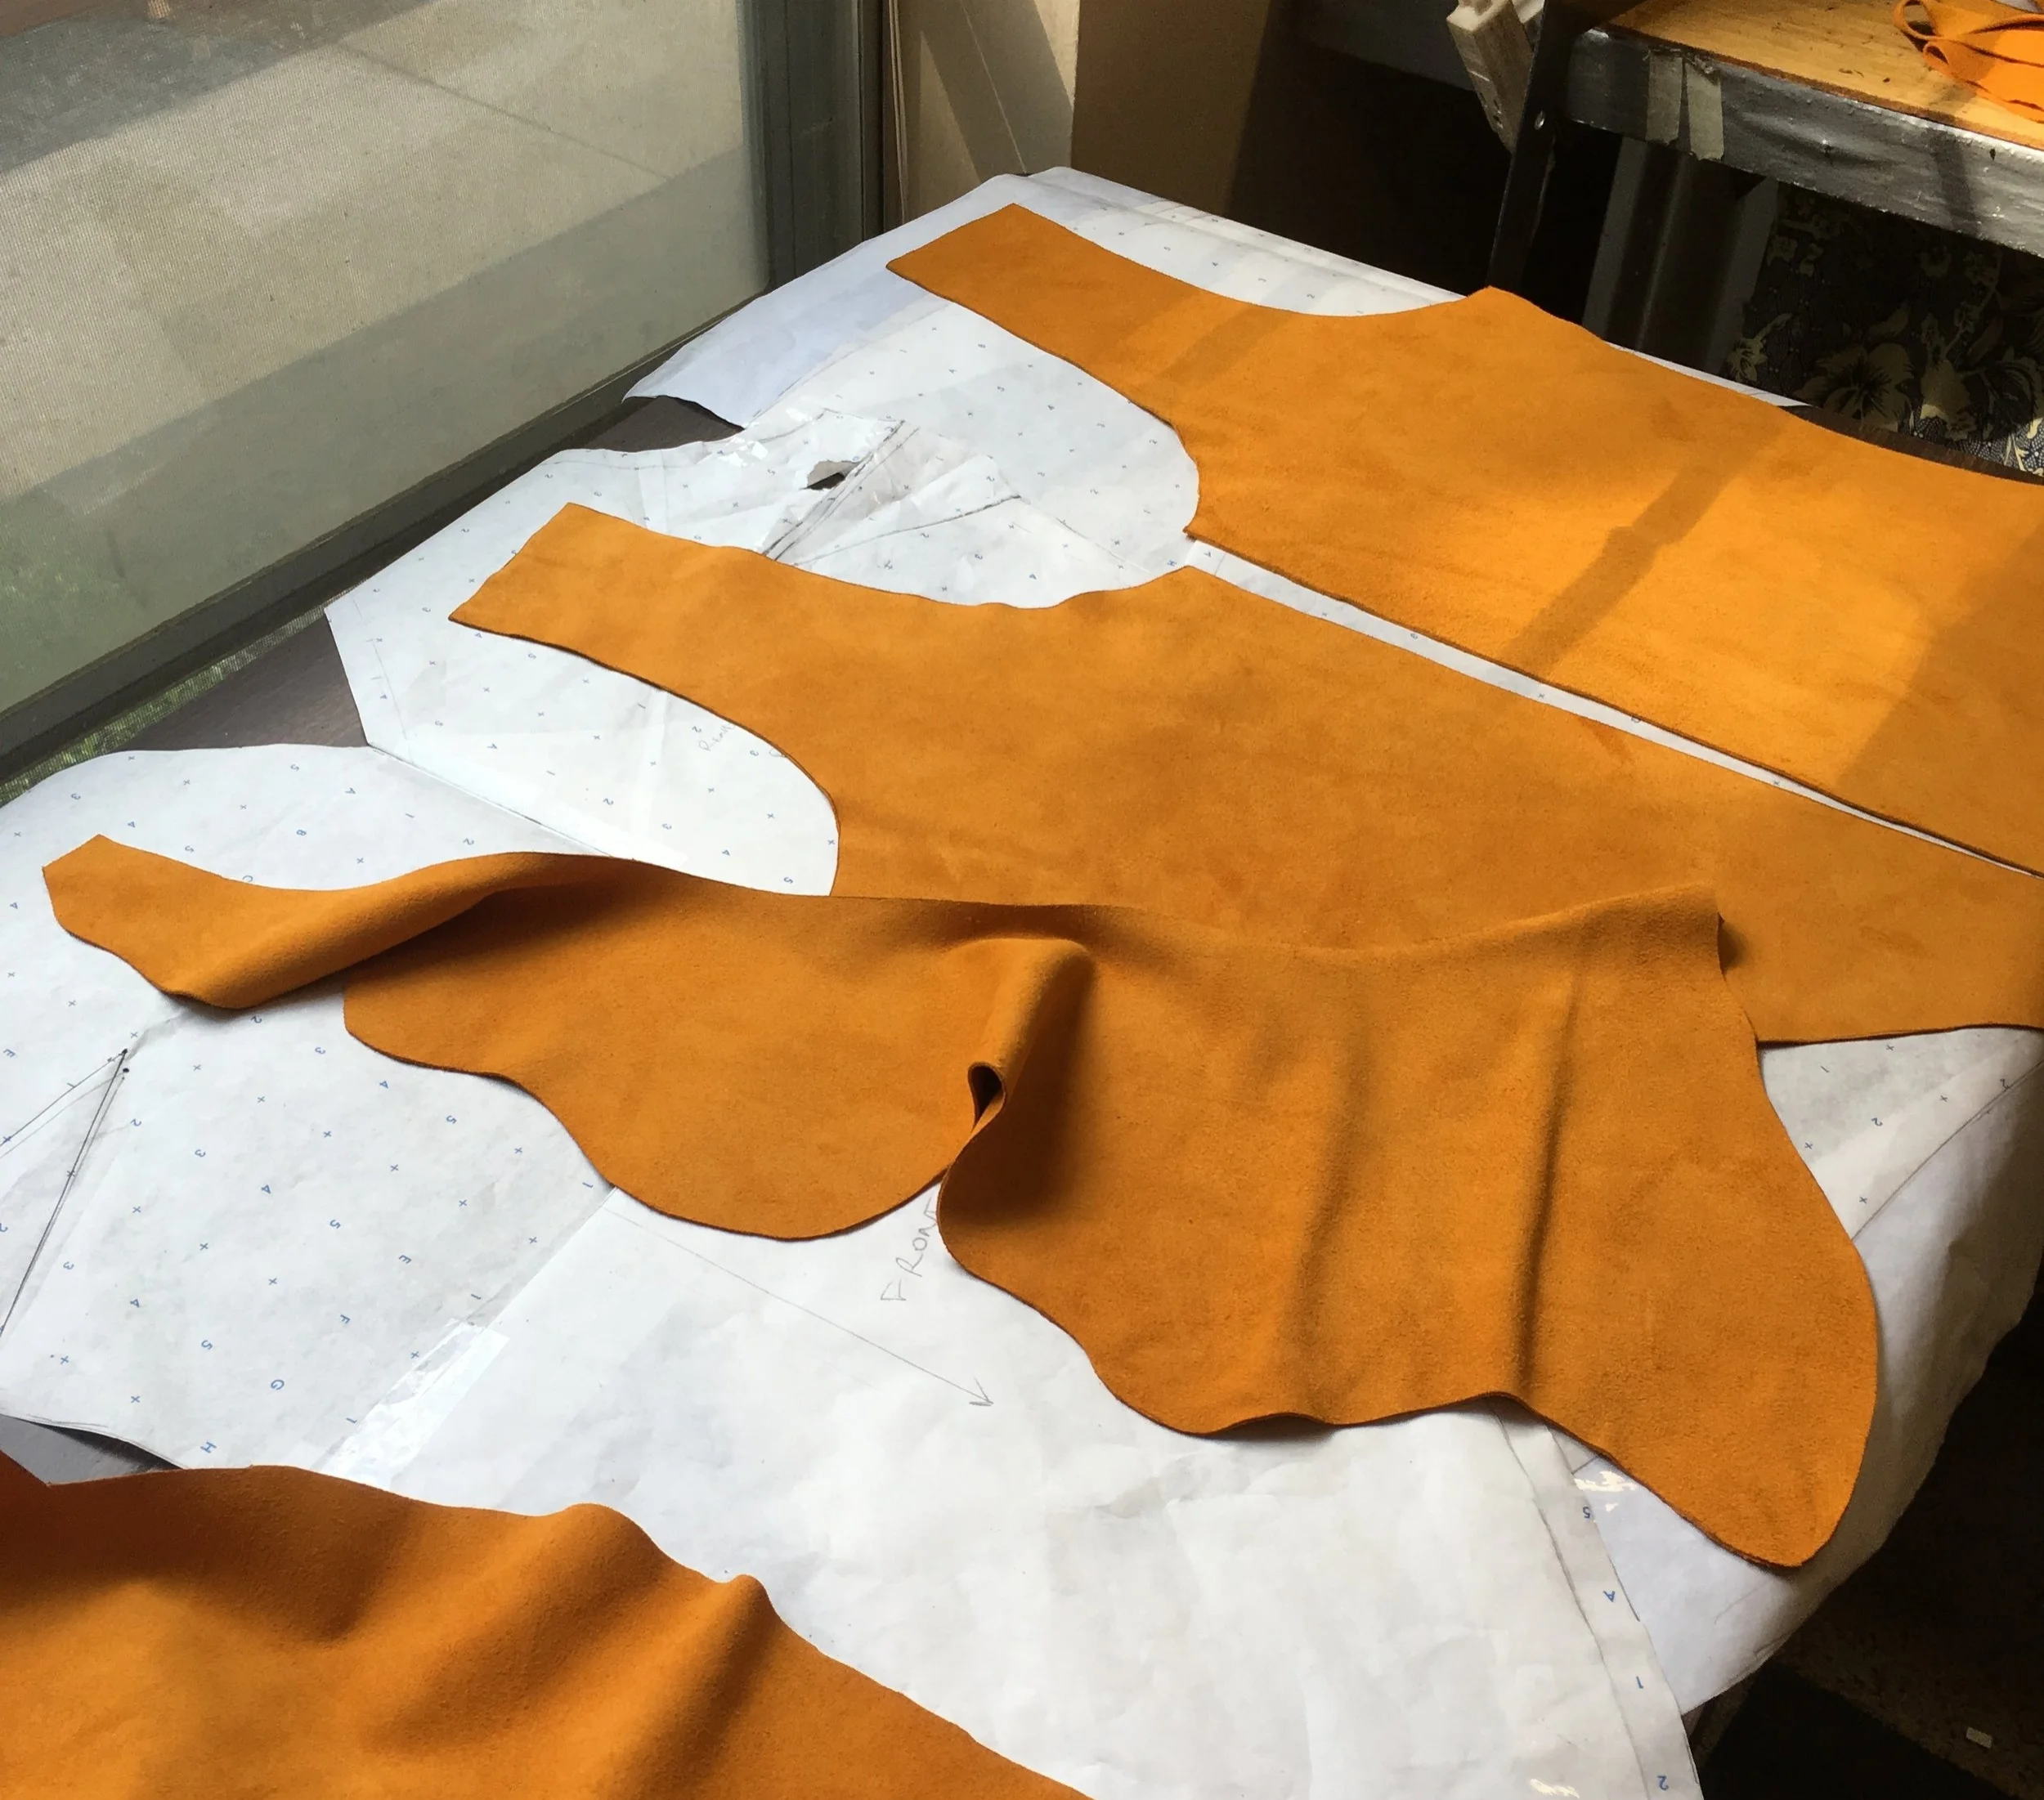
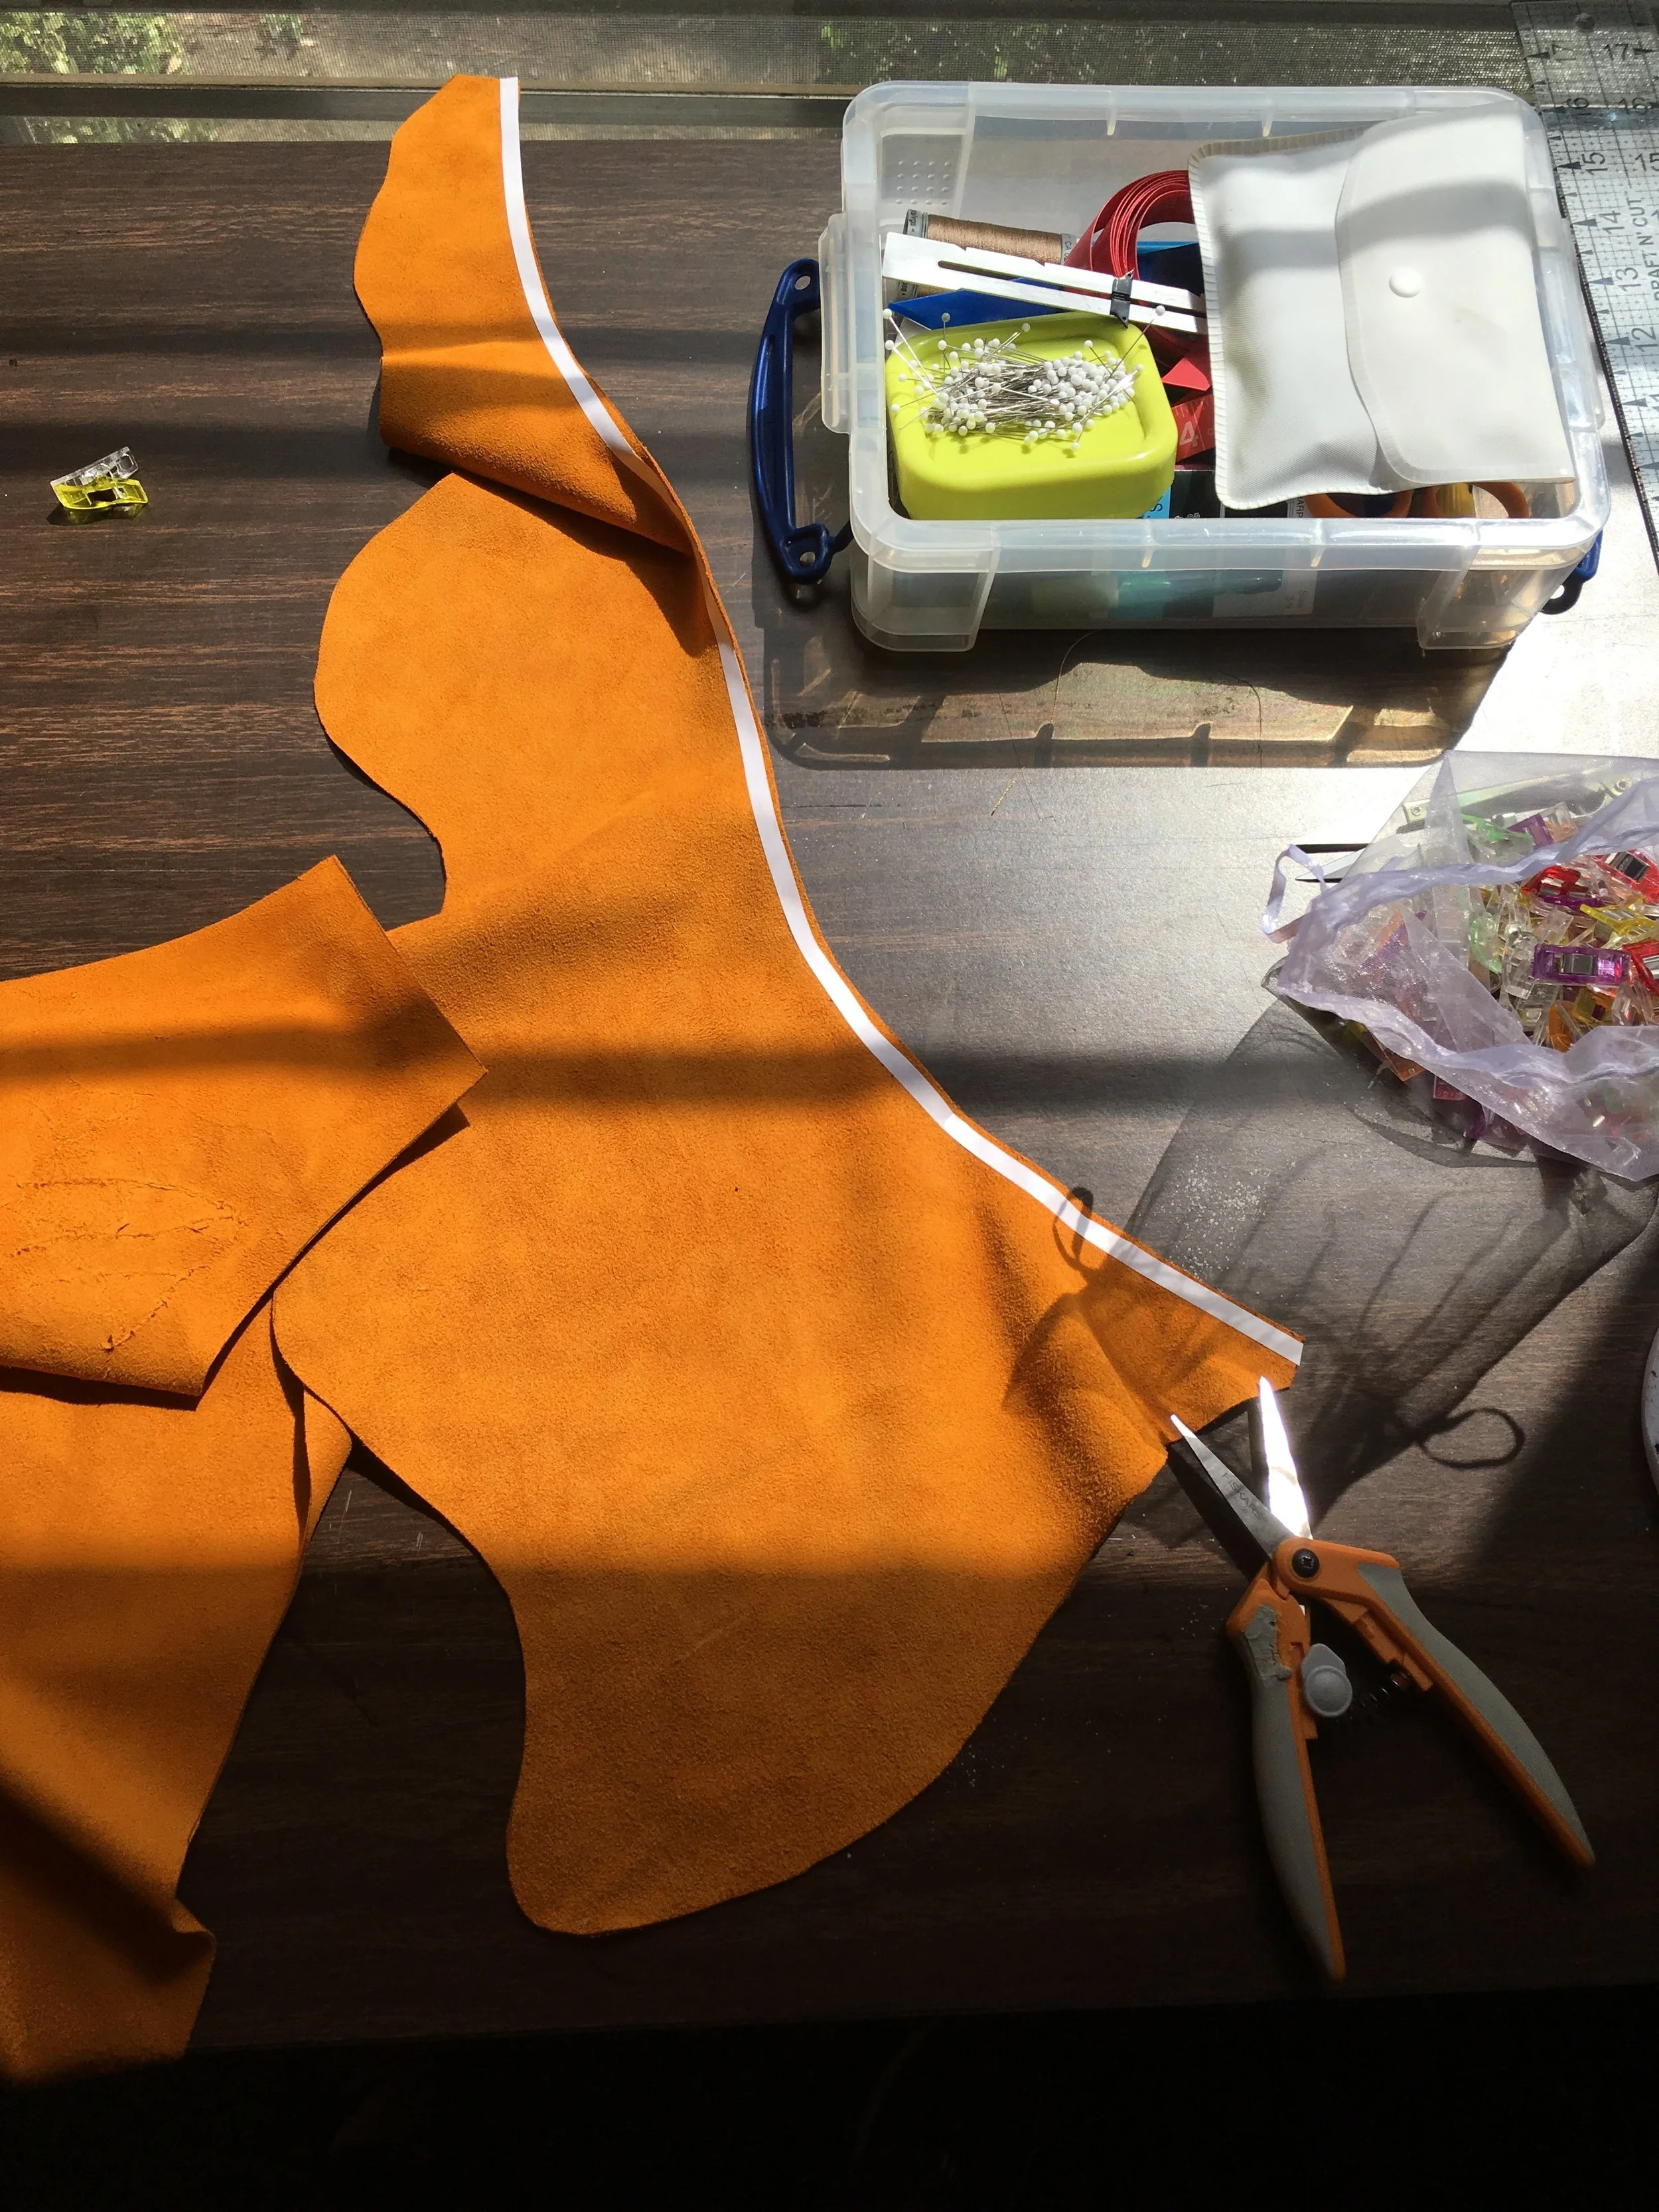
Visible above are the back sections on the dress and a flounce that will lay along the front neckline.
With each section cut, I like to take a moment and assemble the different pieces in my mind, performing different steps in different sequences so I can figure out the best way to construct the dress. (I want you to picture this part exactly like Beautiful Mind but know that really it’s just me sitting in a very unglamorous zombie state, wincing each time I realize something won’t work how I've imagined, and then starting the sequence over again…and again.)
A critical difference in working with leather versus fabric is that there is no going back. Once a piece has been sewn, the needle perforations are permanent so it is once and done whether I like it or not!
Having nailed down the correct order of operations, I’m ready to start with one of the biggest details first; the zipper.
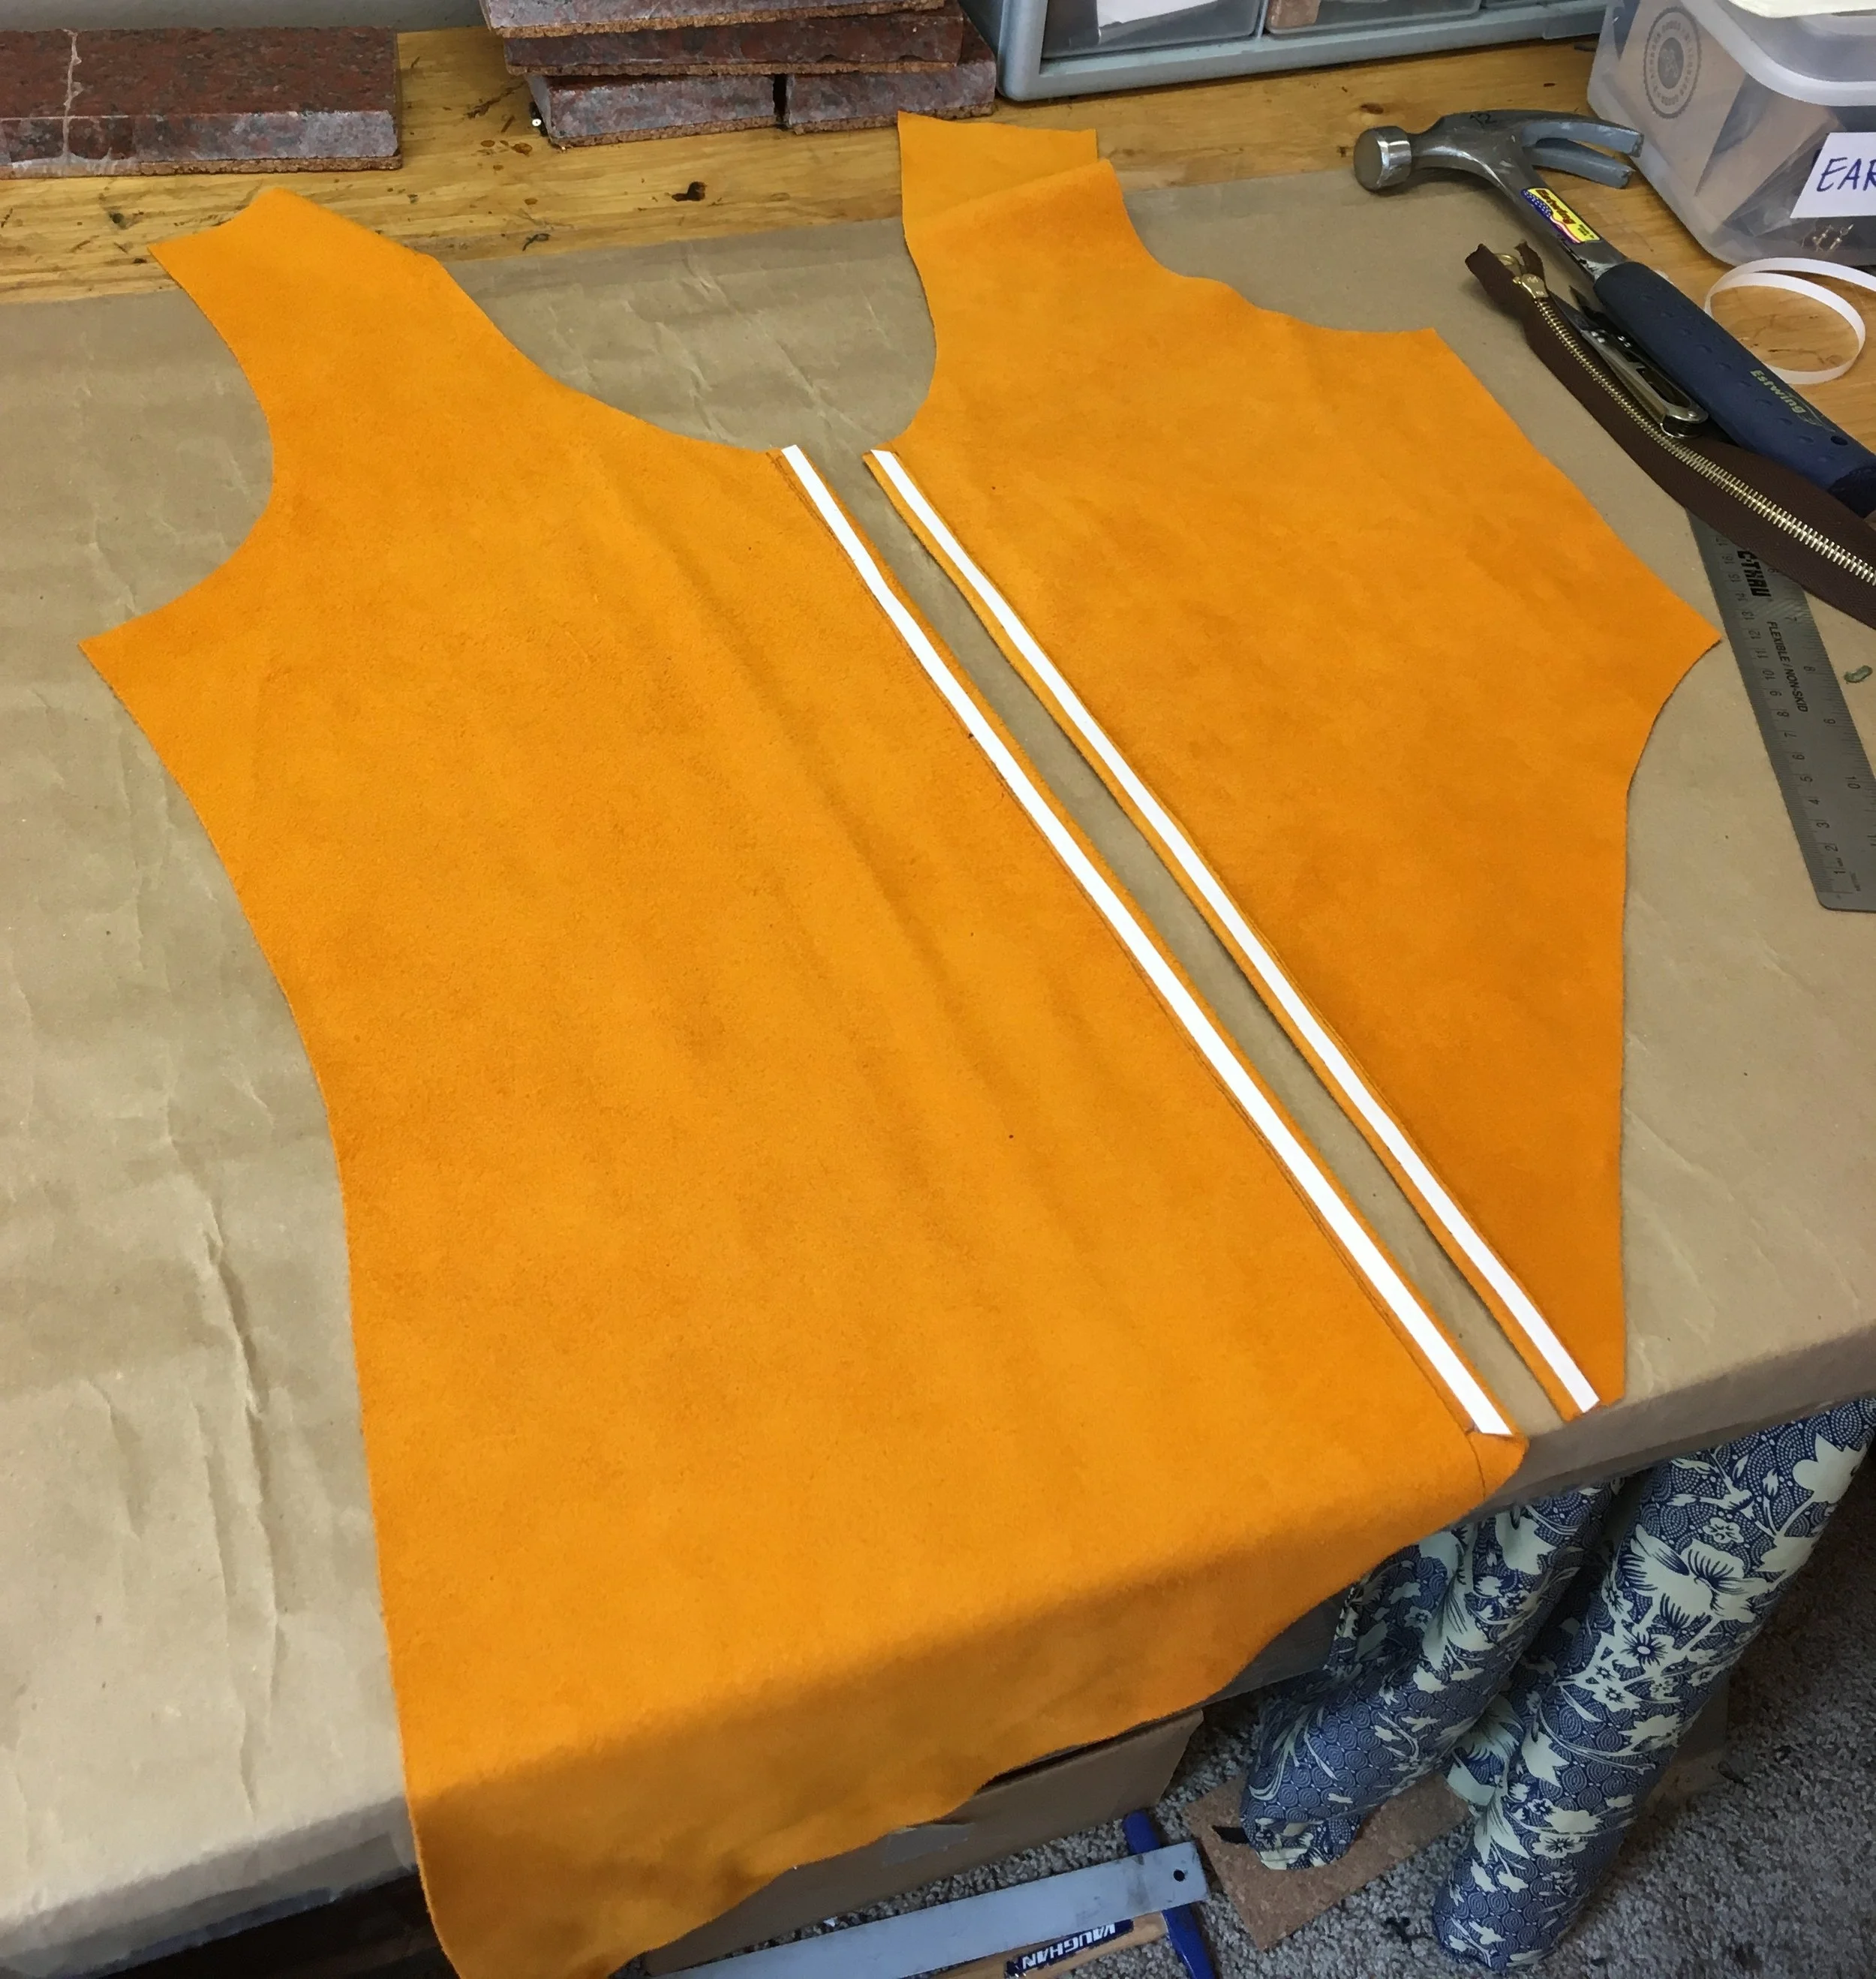
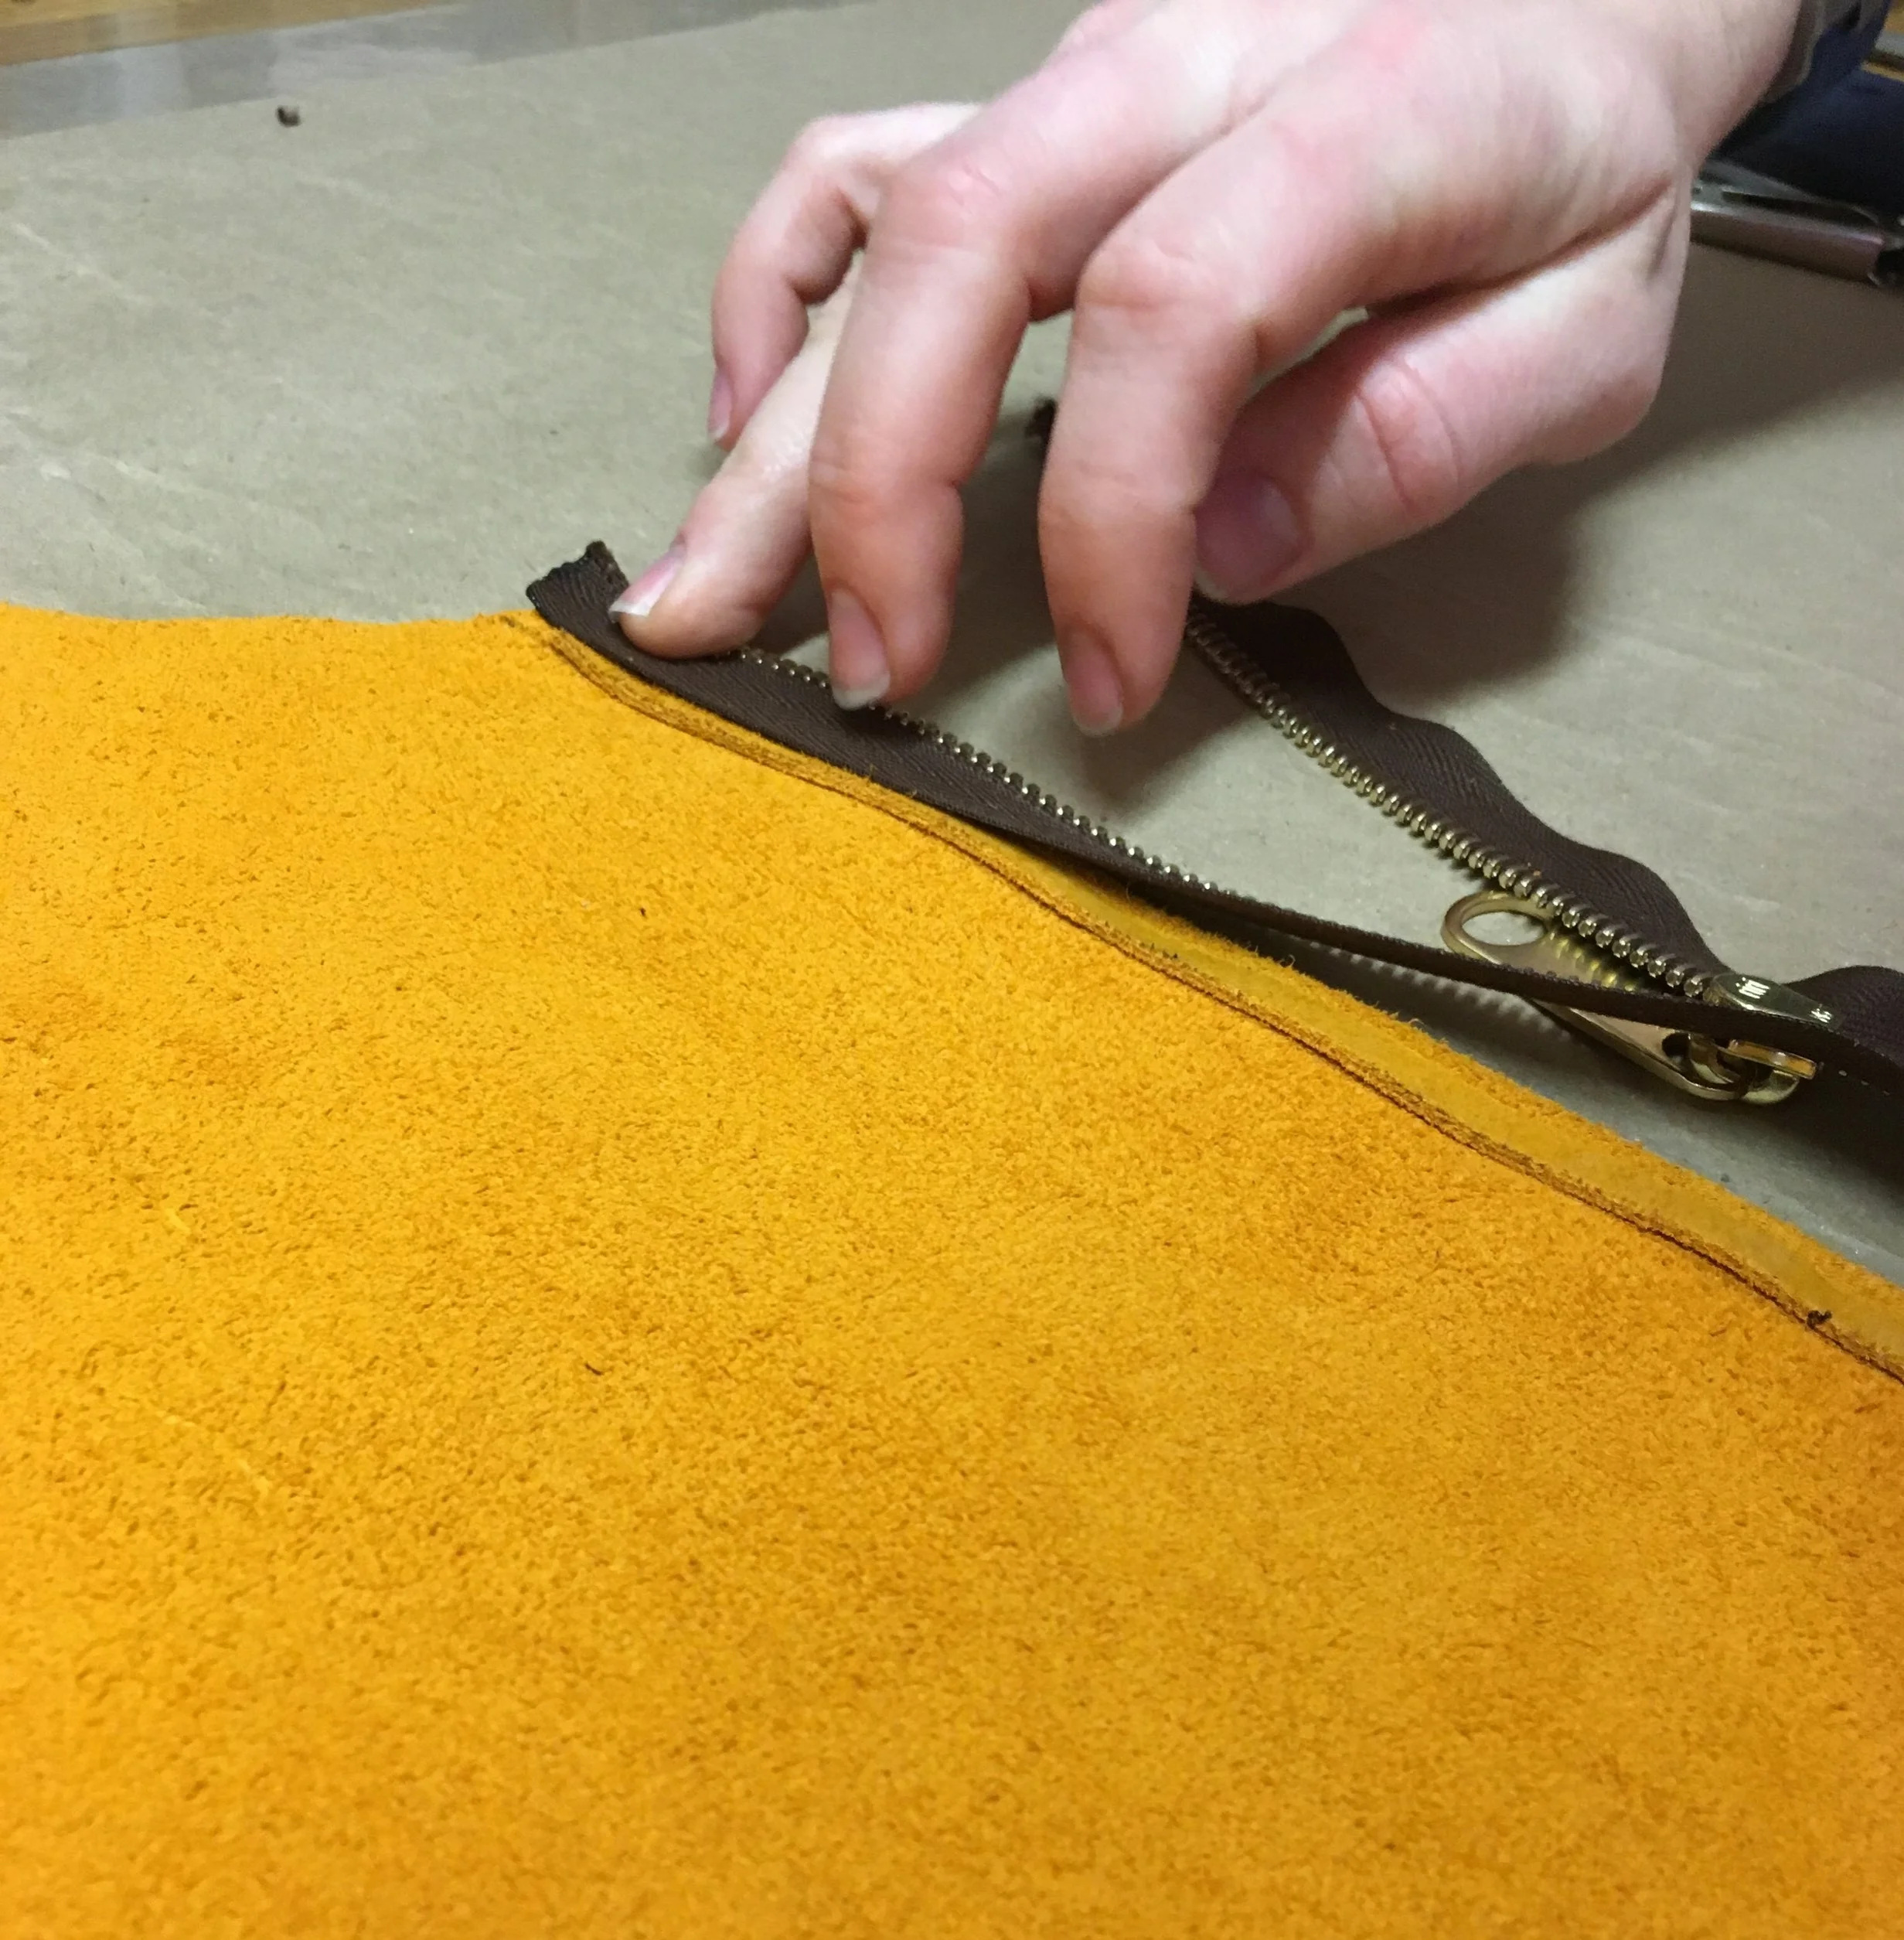
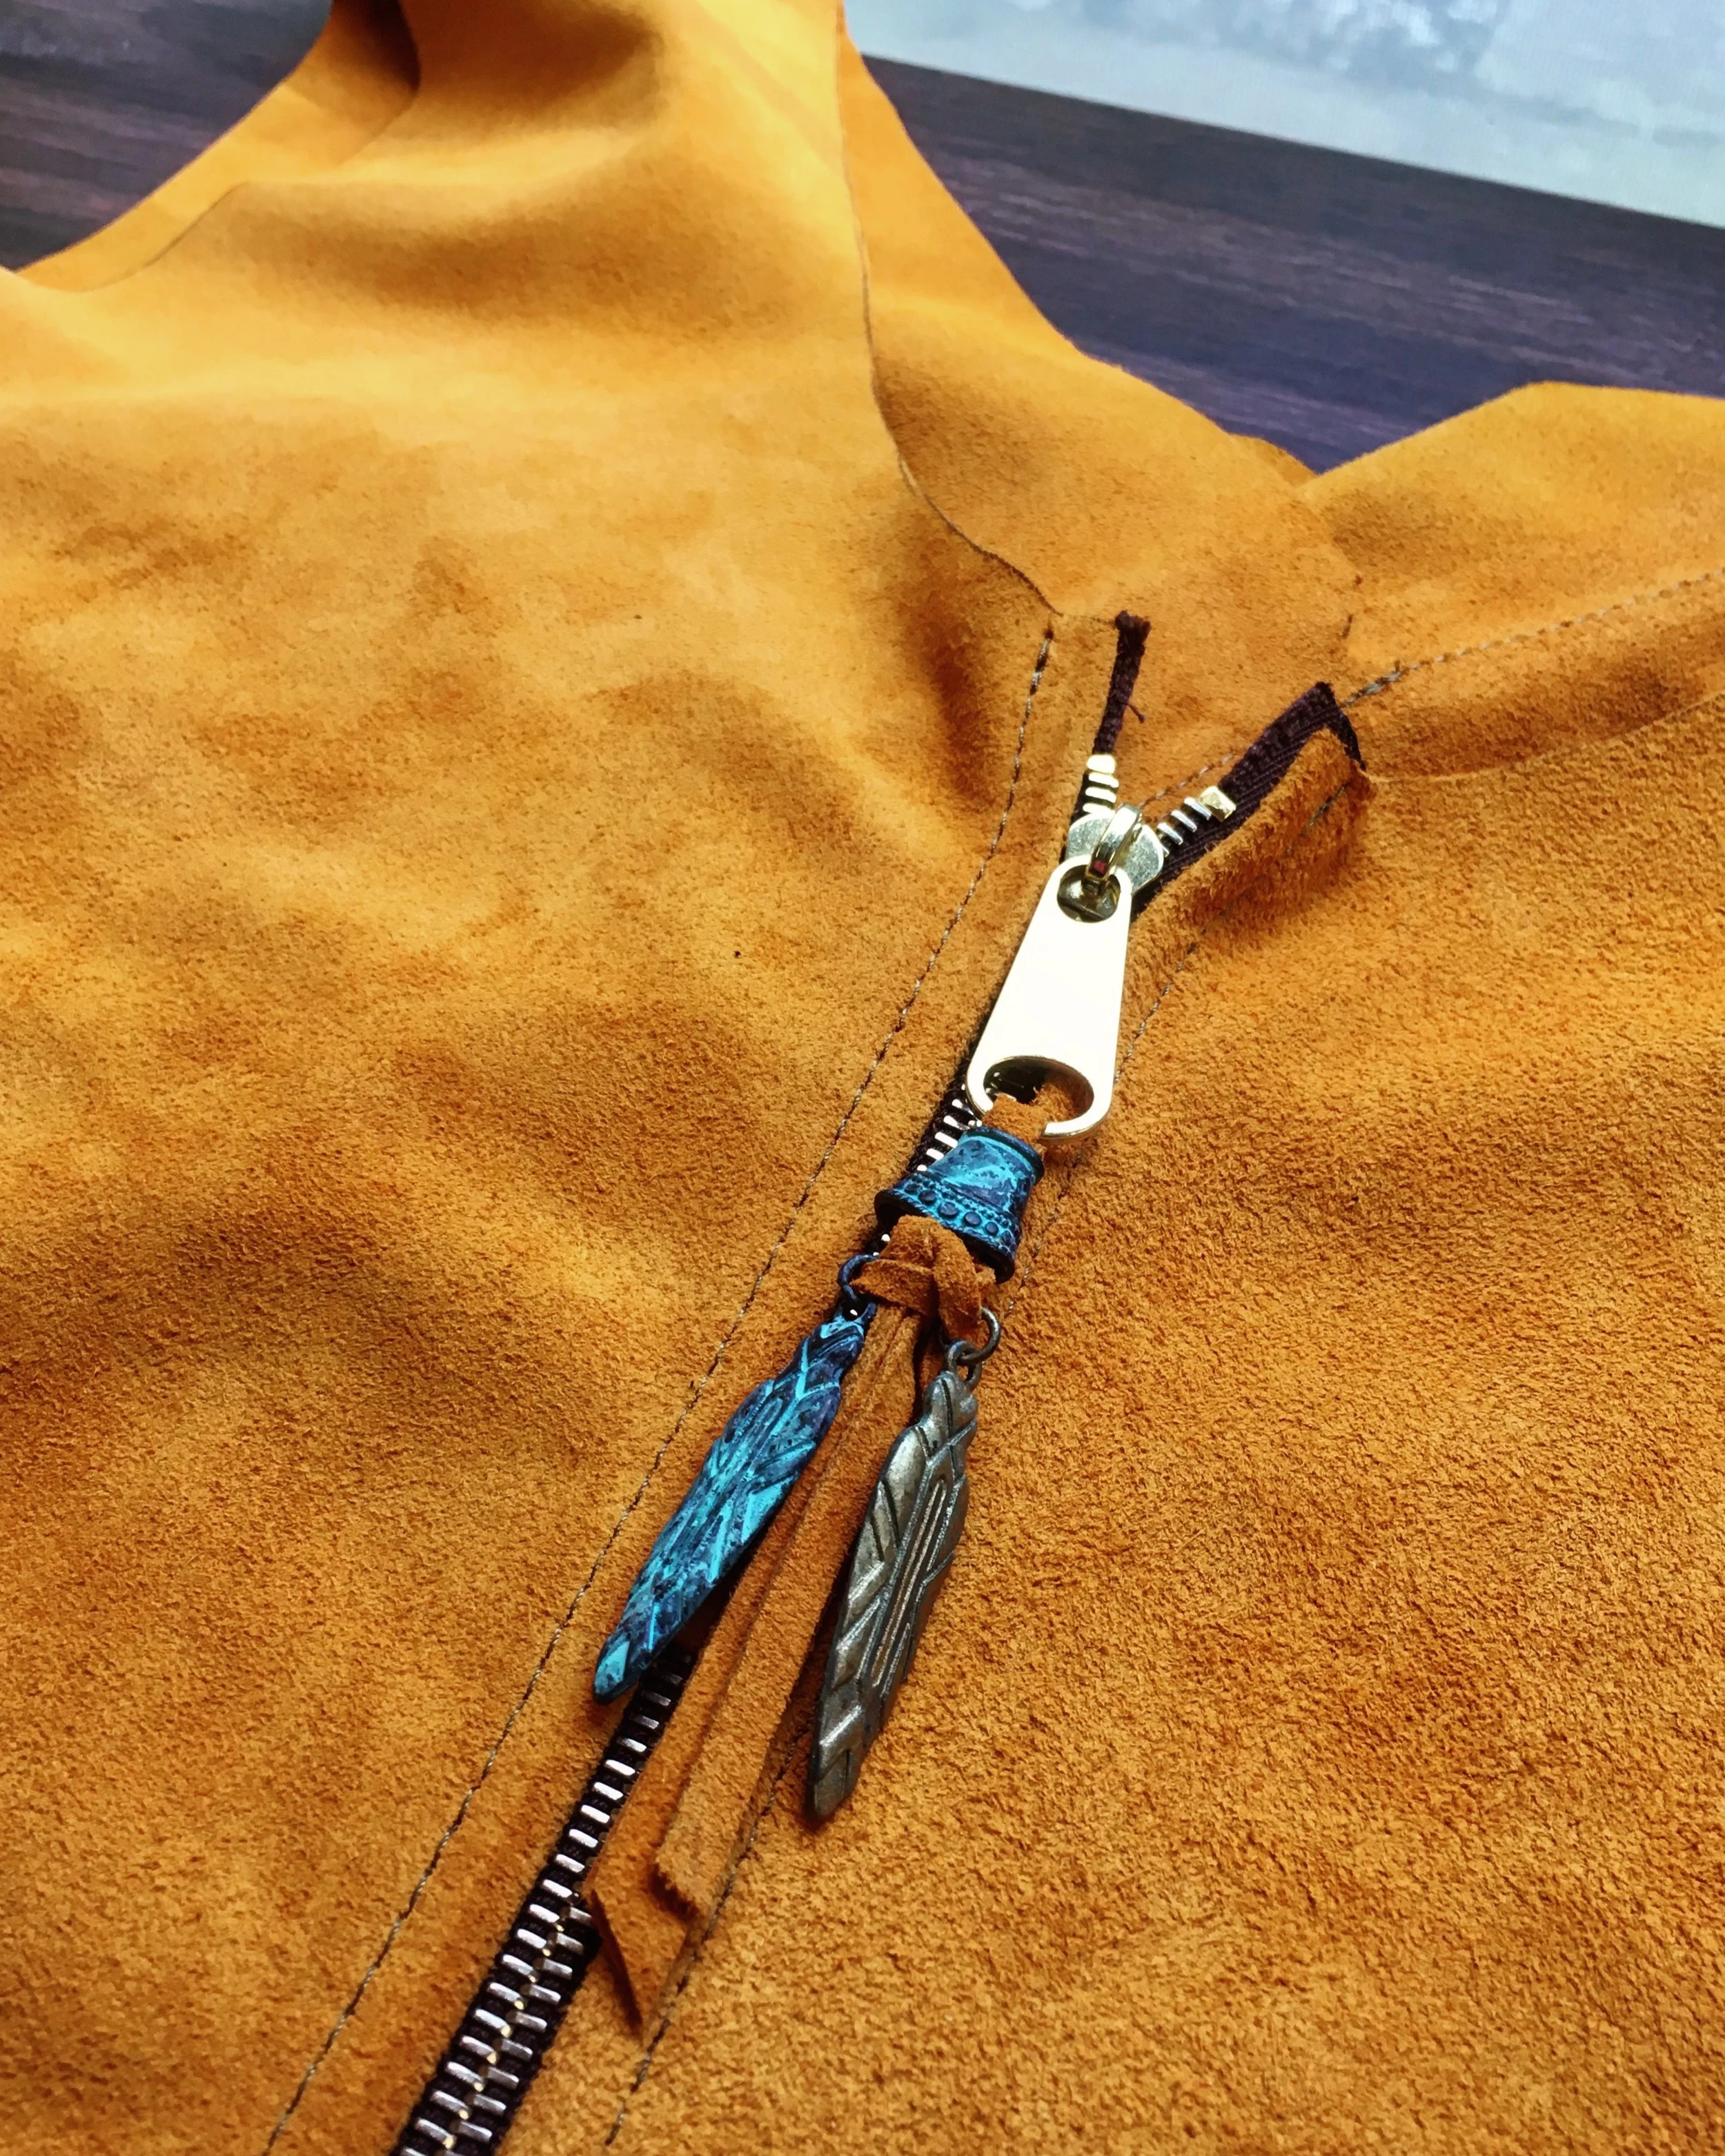
We decided on a large heavy zipper that could support the weight of the leather and give the dress some beautiful, metallic detailing. The zipper, again because it cannot be pinned in place, is fixed onto the leather with ‘basting’ tape which are adhesive, semi-permanent strips, as shown.
Basting tape is applied to either side of the center back seam where the zipper will be placed.
With the backing of the basting tape removed, the zipper adheres firmly to the leather.
Next, two rows of careful topstitching on either side of the seam will hold this zipper permanently in place. I’ll also attach the unique zipper pull, securing the feather beads and tassels to the zipper ring.
Once it’s set in, sliding the zipper up and watching the teeth glide together is always one of my favorite parts!
With the zipper inserted, I’ll move on to the other largest detail component: the front flounce. I’ll employ the same process using the basting tape to hold everything in place and follow-up with topstitching to permanently secure the flounce along the neckline.
The basting tape is applied to the connection edge.
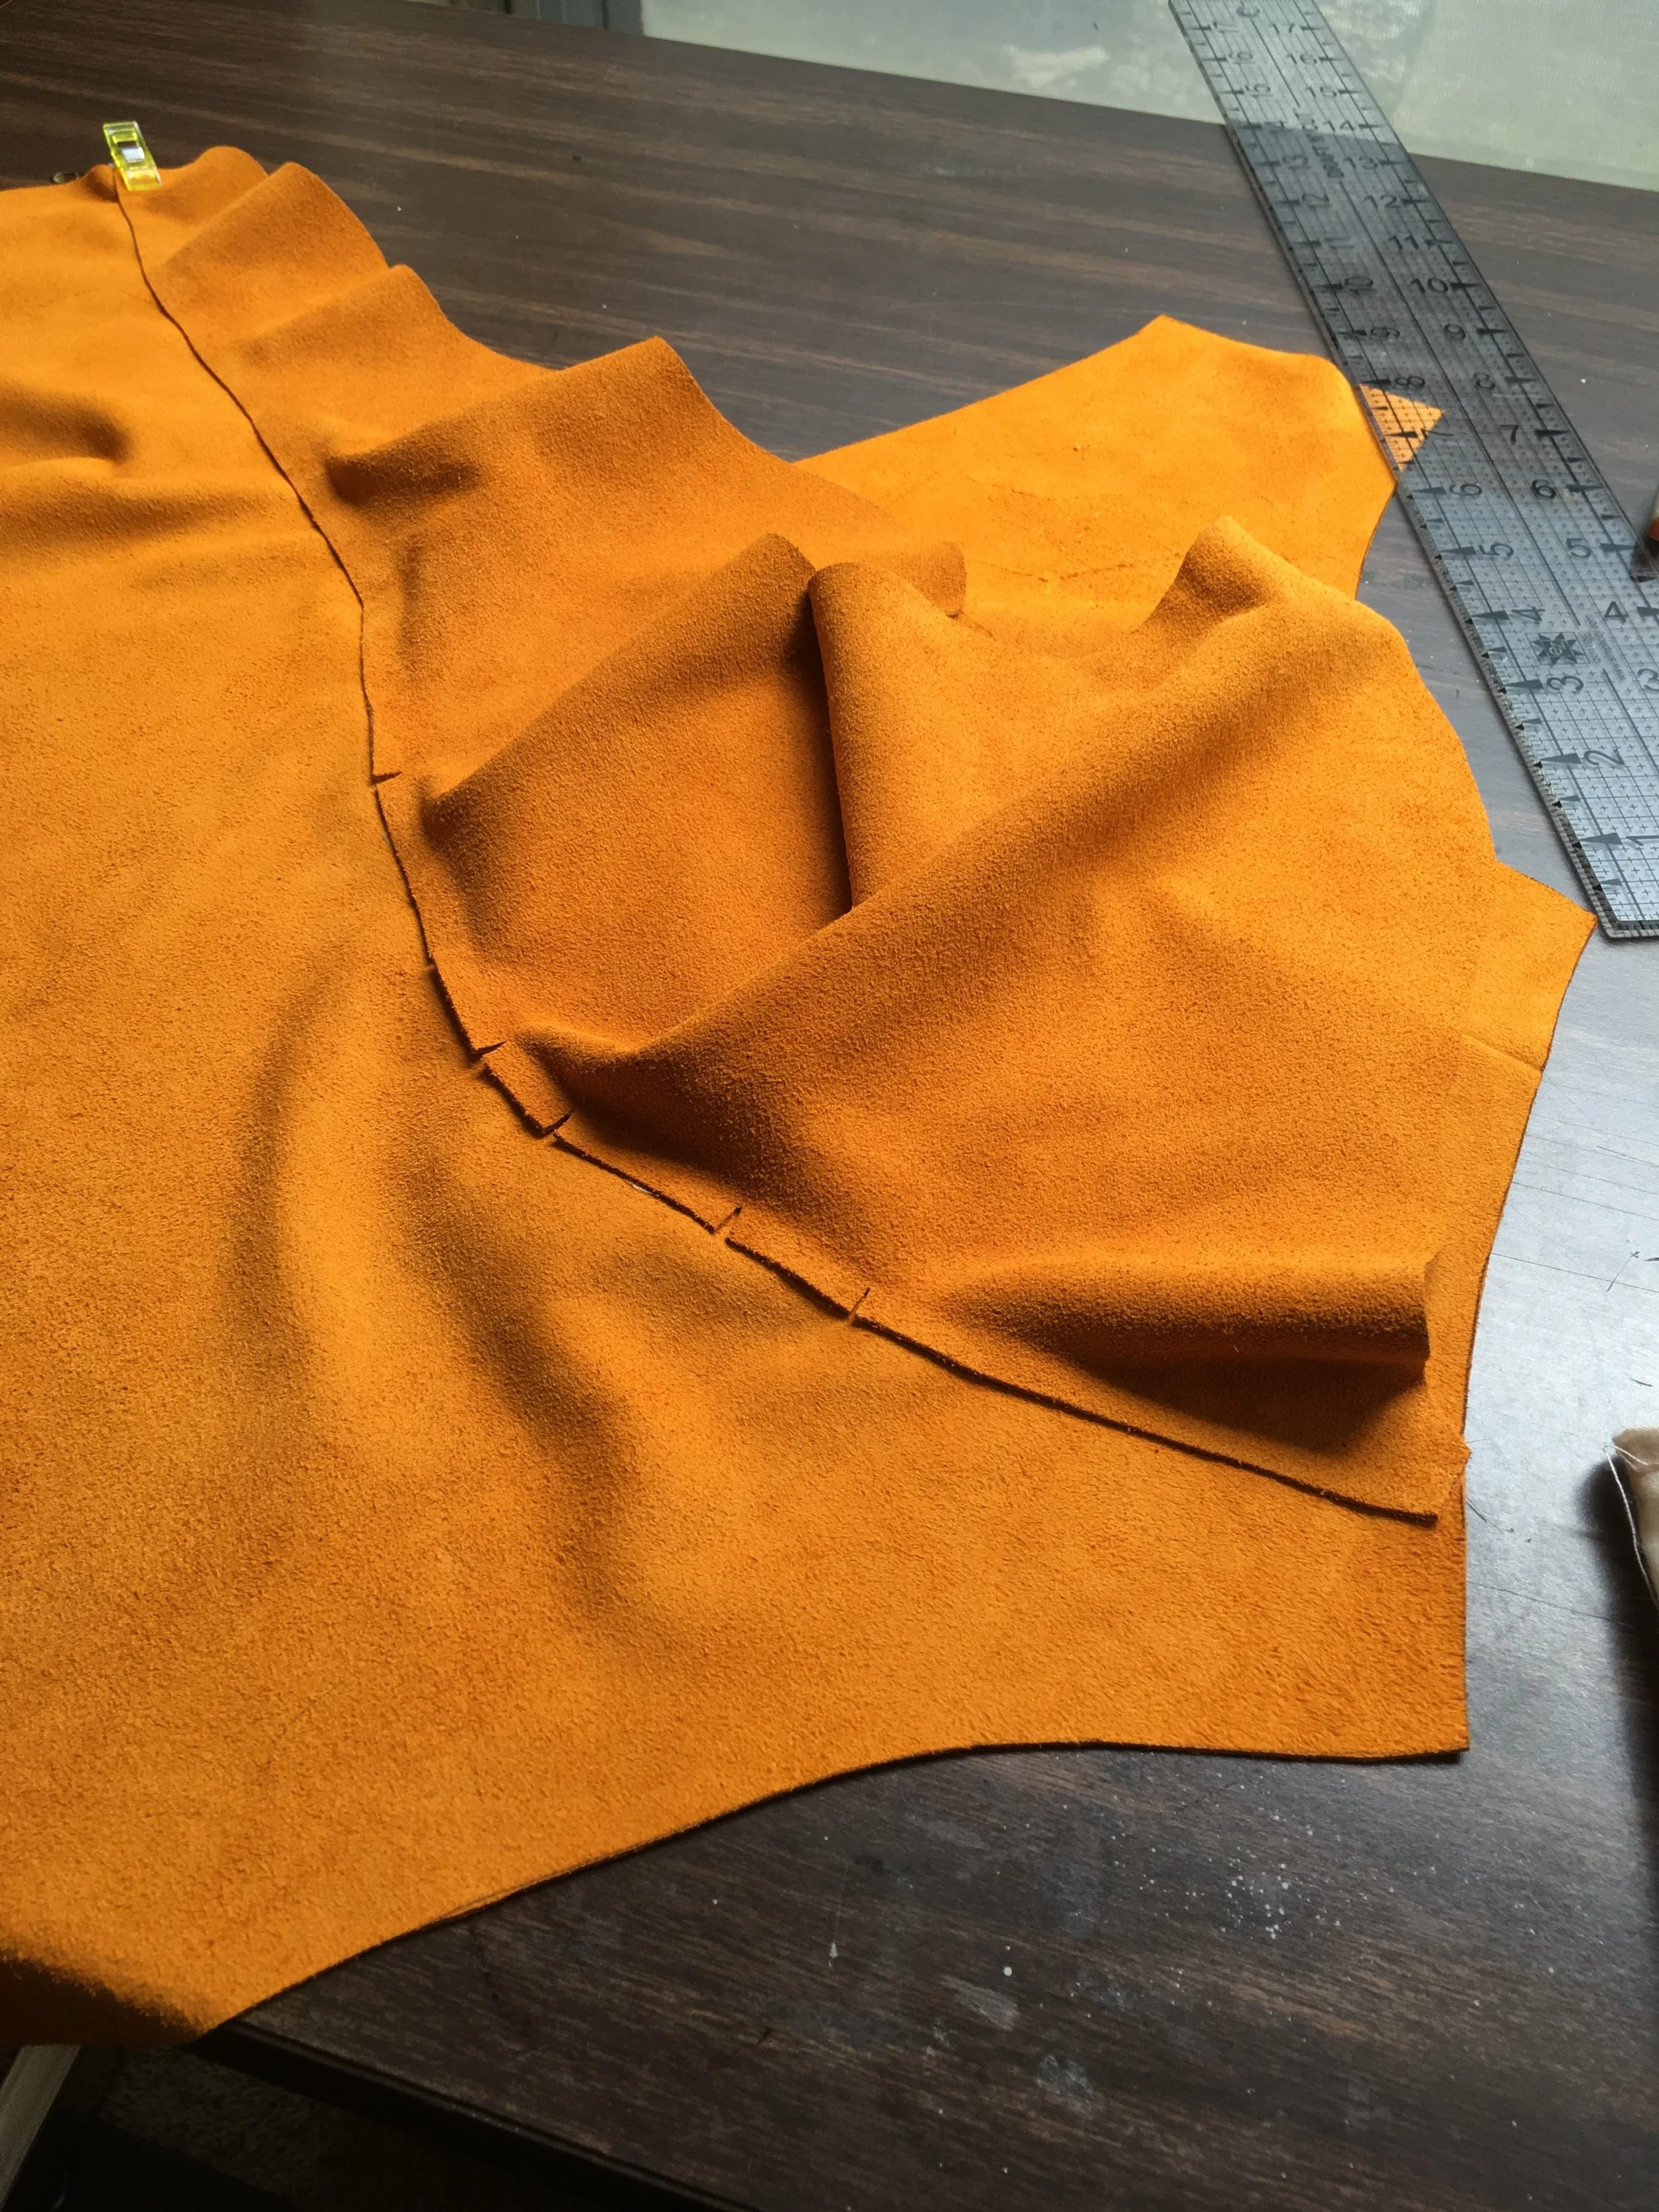
The flounce is pressed into place along the neckline and clipped along curved edges to help allow the stiff leather to drape softly into place.
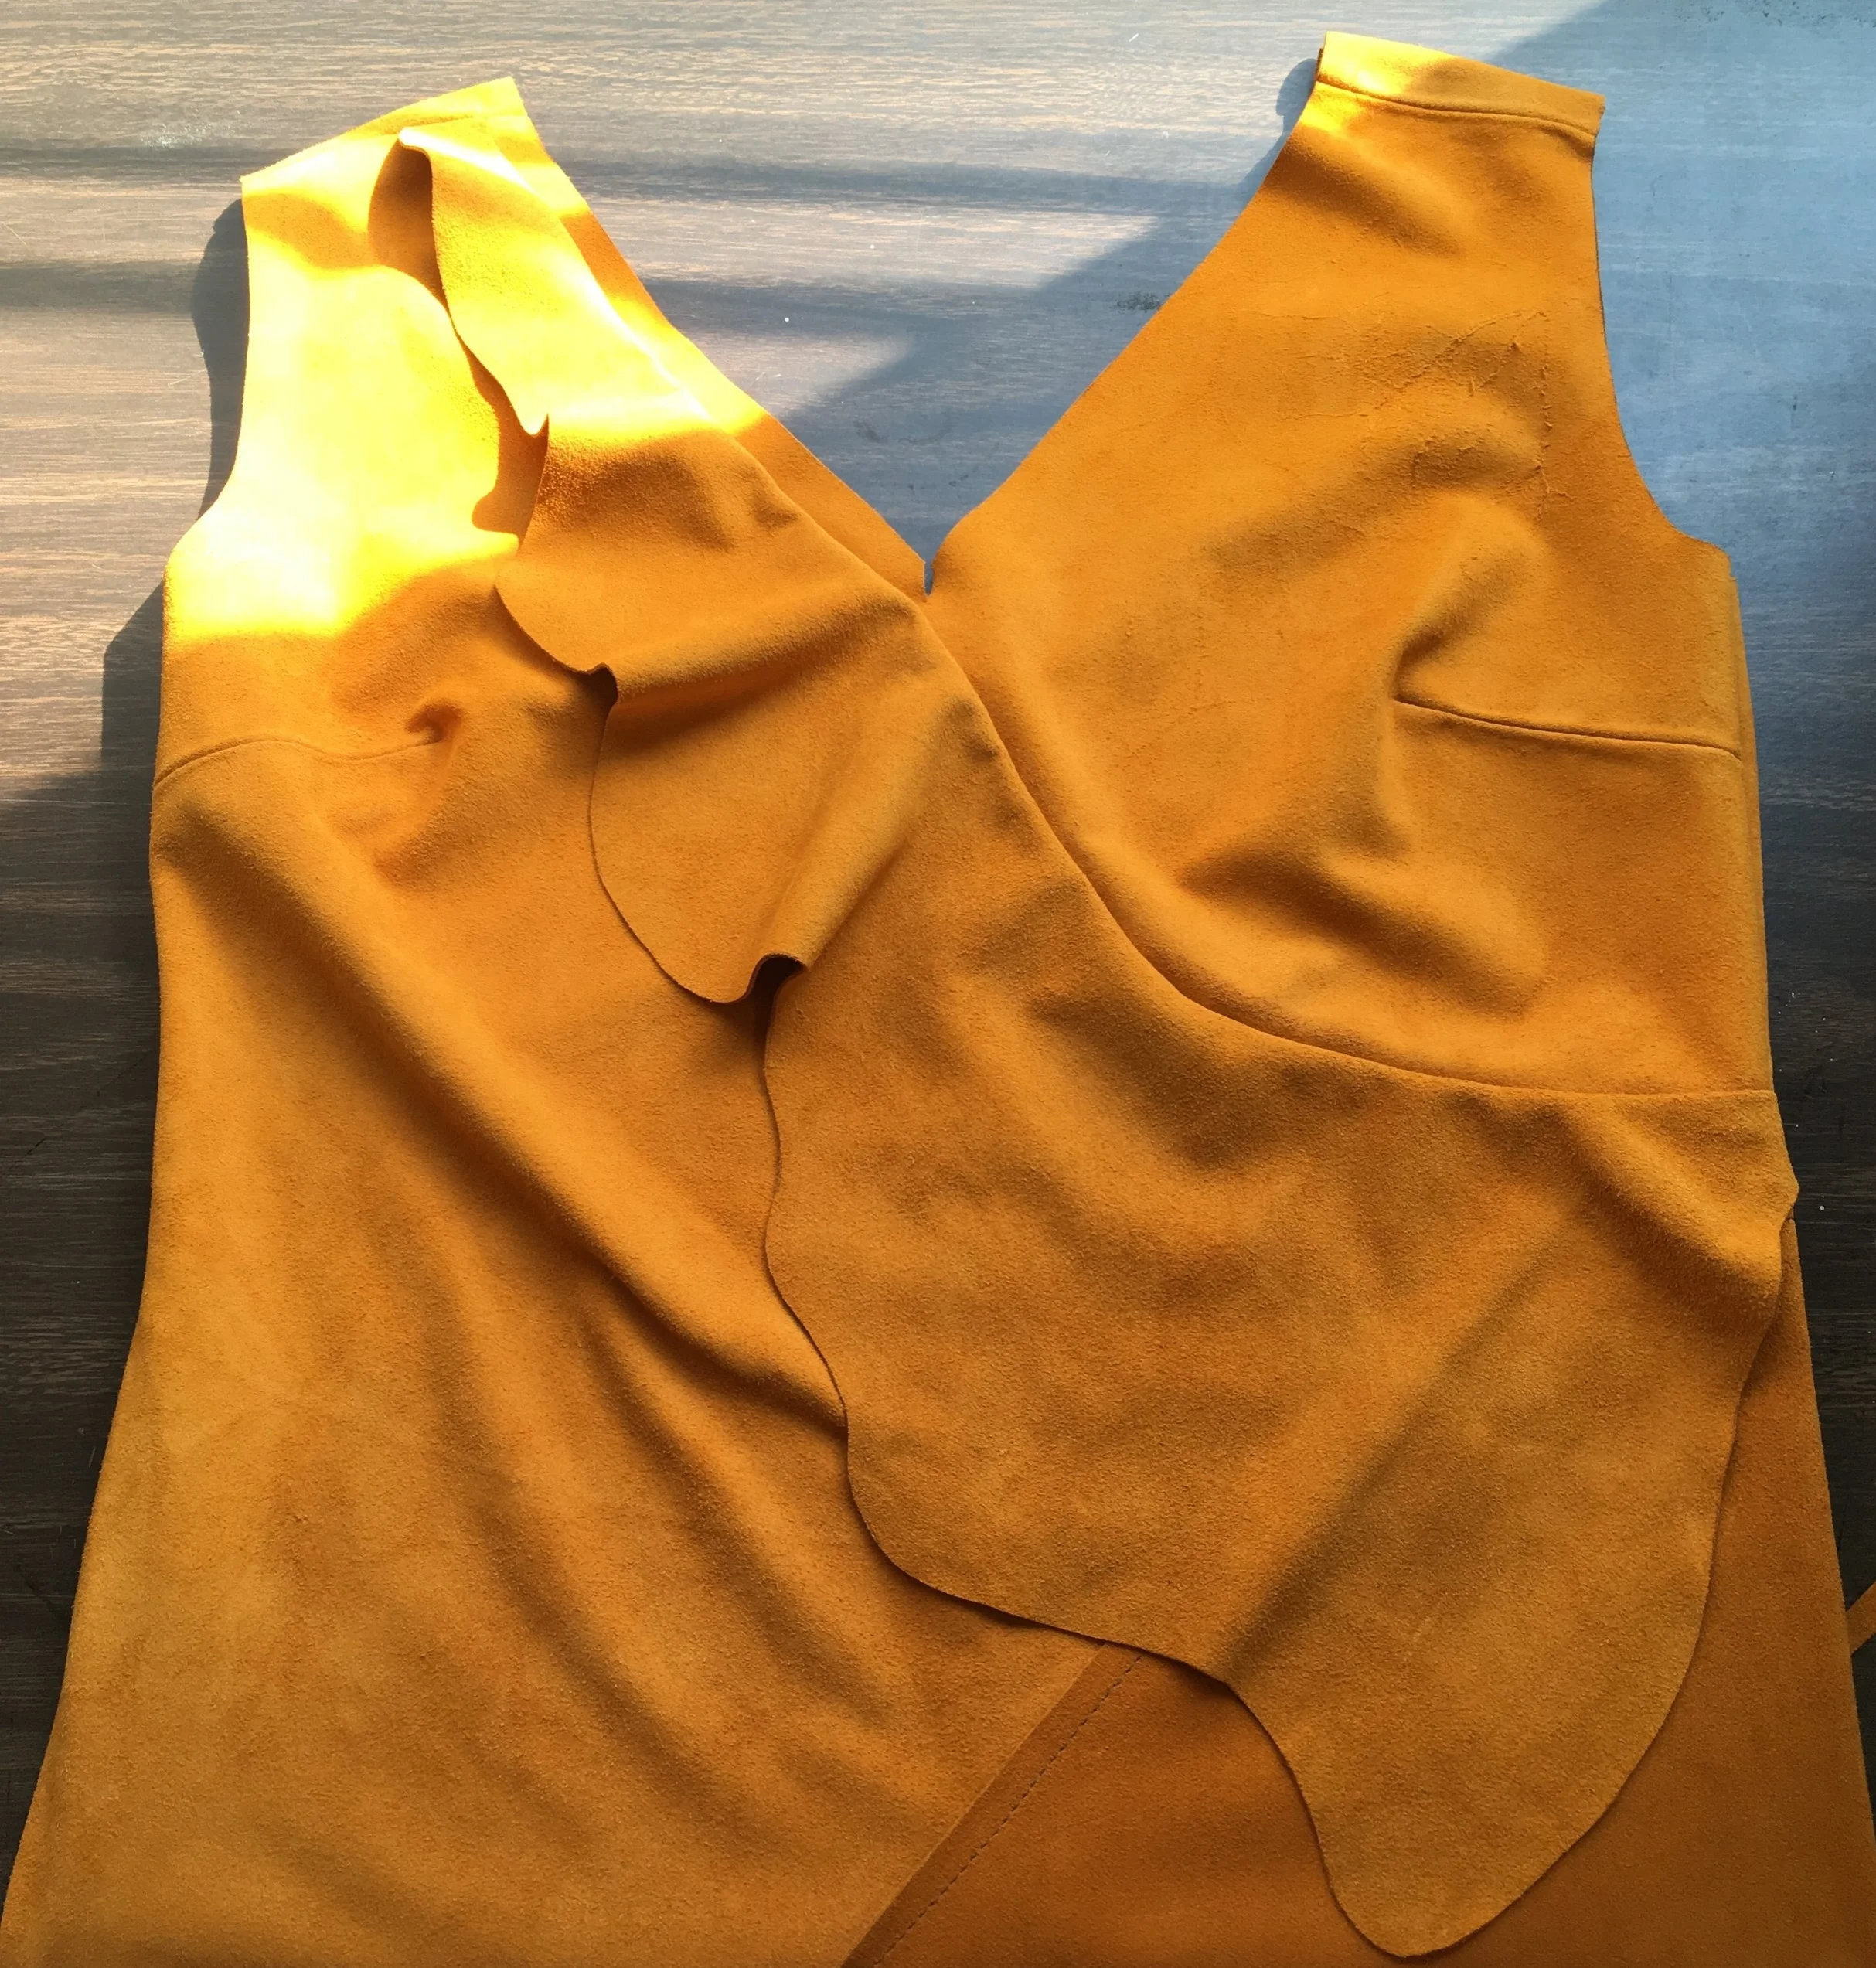
The flat look of the flounce completed. Notice the unique texture of the lether in the upper right corner of the dress. These incredible natural details give this custom dress an even more original look. *You’ll notice quite a few other details are completed in this photo, we’ll walk through them below!
Now the remaining structural seams and darts and be sewn. I like to start at the top and work my way down, beginning with the bust darts, moving to the shoulder seams, and ending with the sideseams. The dress is truly taking shape!
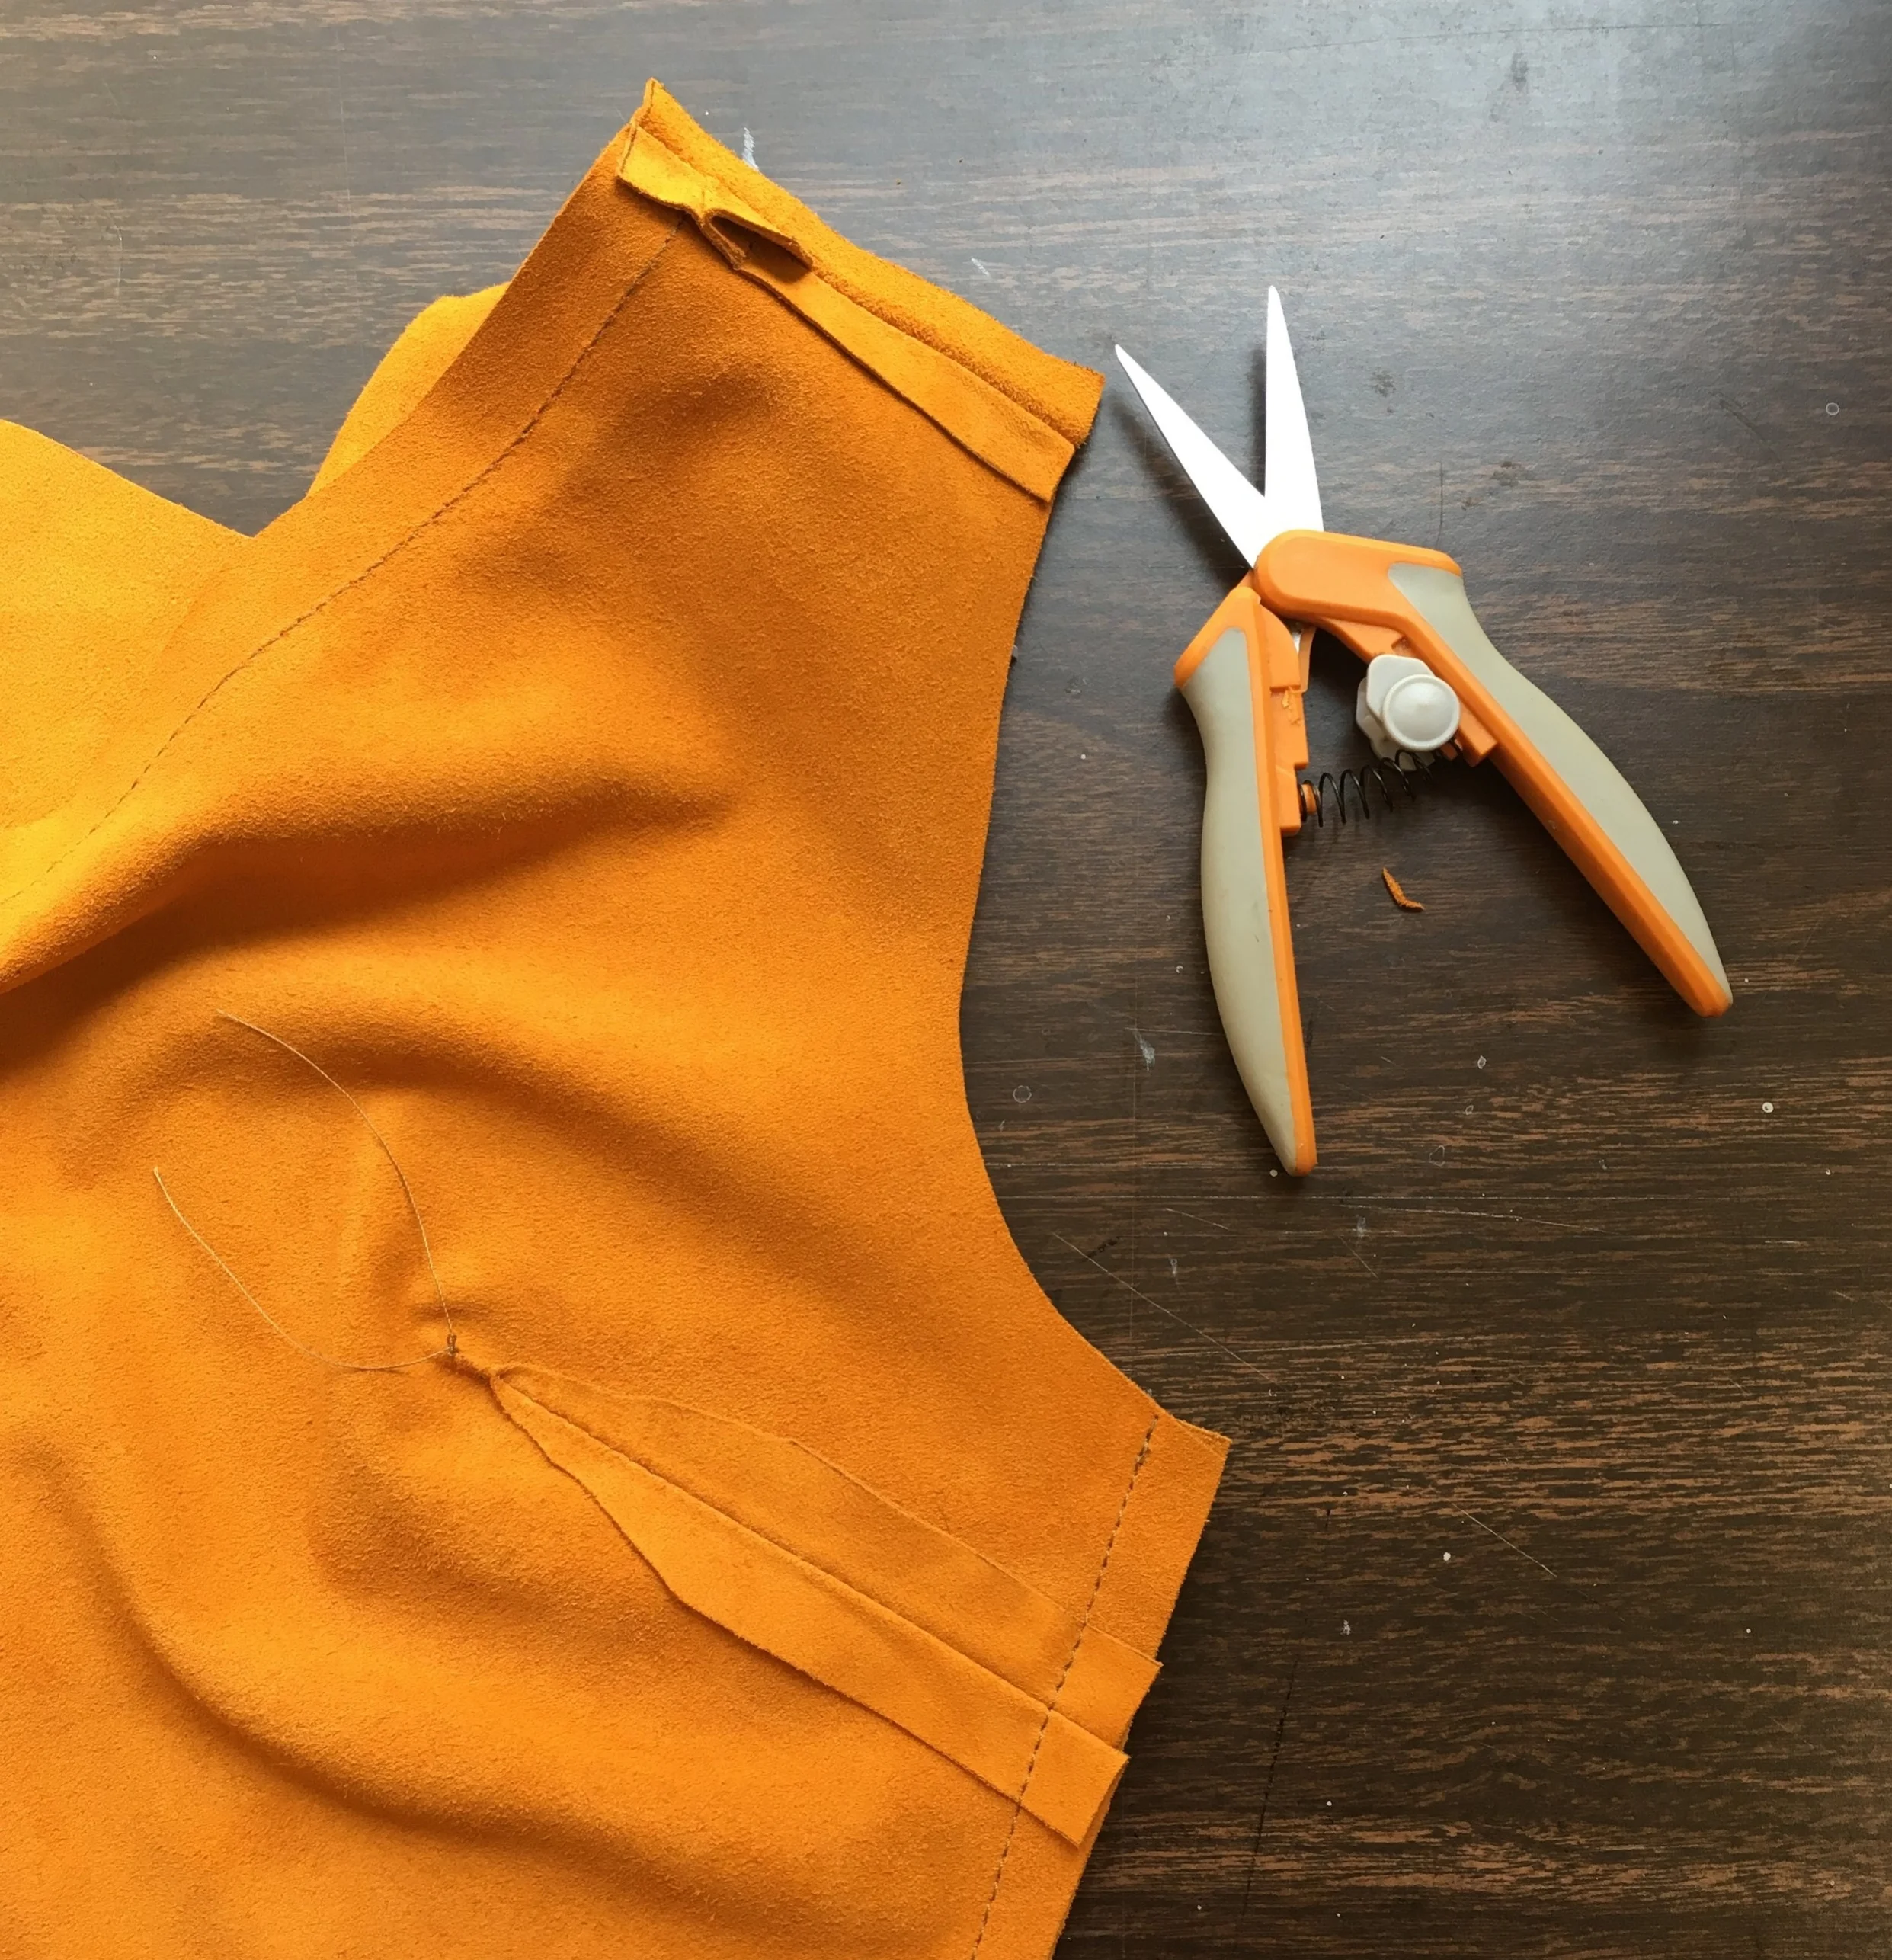
Notice that I've clipped directly into the point of the dart and knotted off the threads by hand to help the dart lay as flat on the body as possible. I have also pressed down the seam allowances use the basting tape for a clean finished look.
We’re in the home stretch now! Lining and the fringed hem (plus a few tassels for the flounce!) are all that's left.
A note on lining: one significant detail about leather clothing that I found during pre-construction research for this dress is that they are often left unlined. First, because there is no issue with frayed threads as there aren’t any, and second; people looking for leather clothing usually appreciate the rough look of the raw cut edge.
I’ll be honoring the raw cut edge in the fringed hem, however, I decided to go with an almost full lining because this garment will be quite close fitting so I liked the idea of the smoother fabric against her skin, especially since she’d be wearing it throughout the night with the possibility of a little dancing!
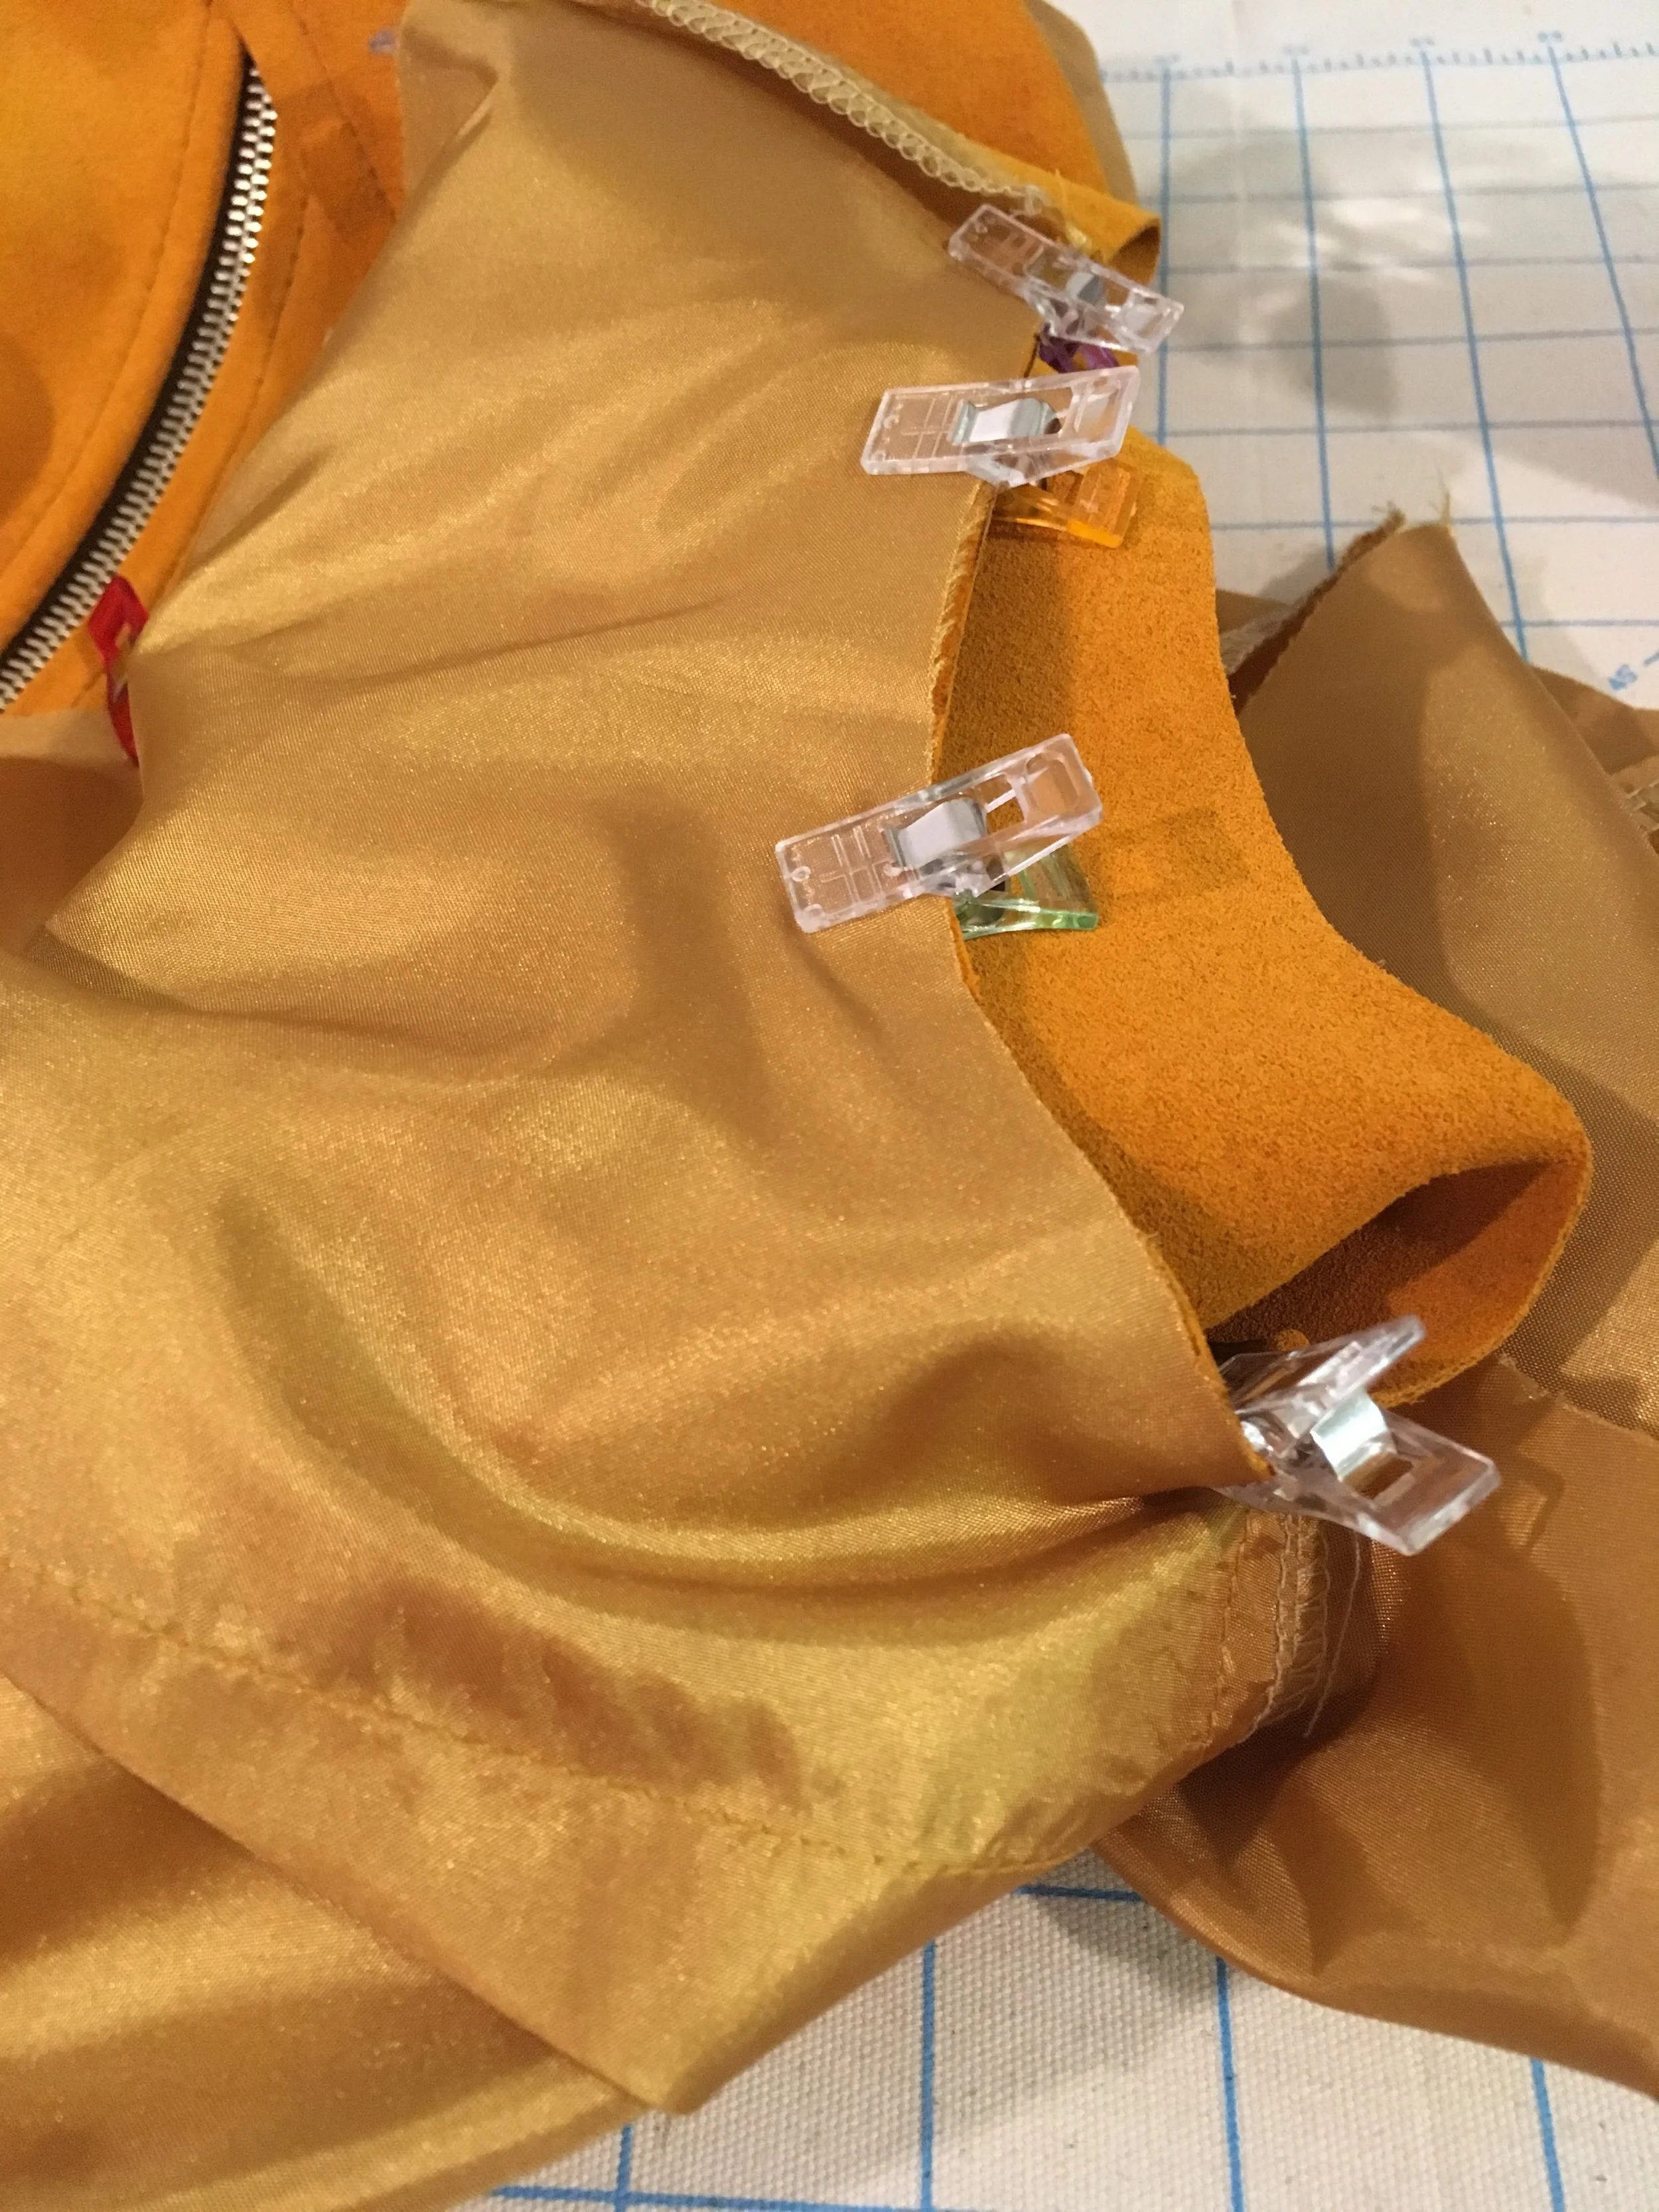
The lining sewn attached to the suede around the armhole, sewn from the inside and then pressed with these handy clips from the outside. No ironing the seams flat in this case!
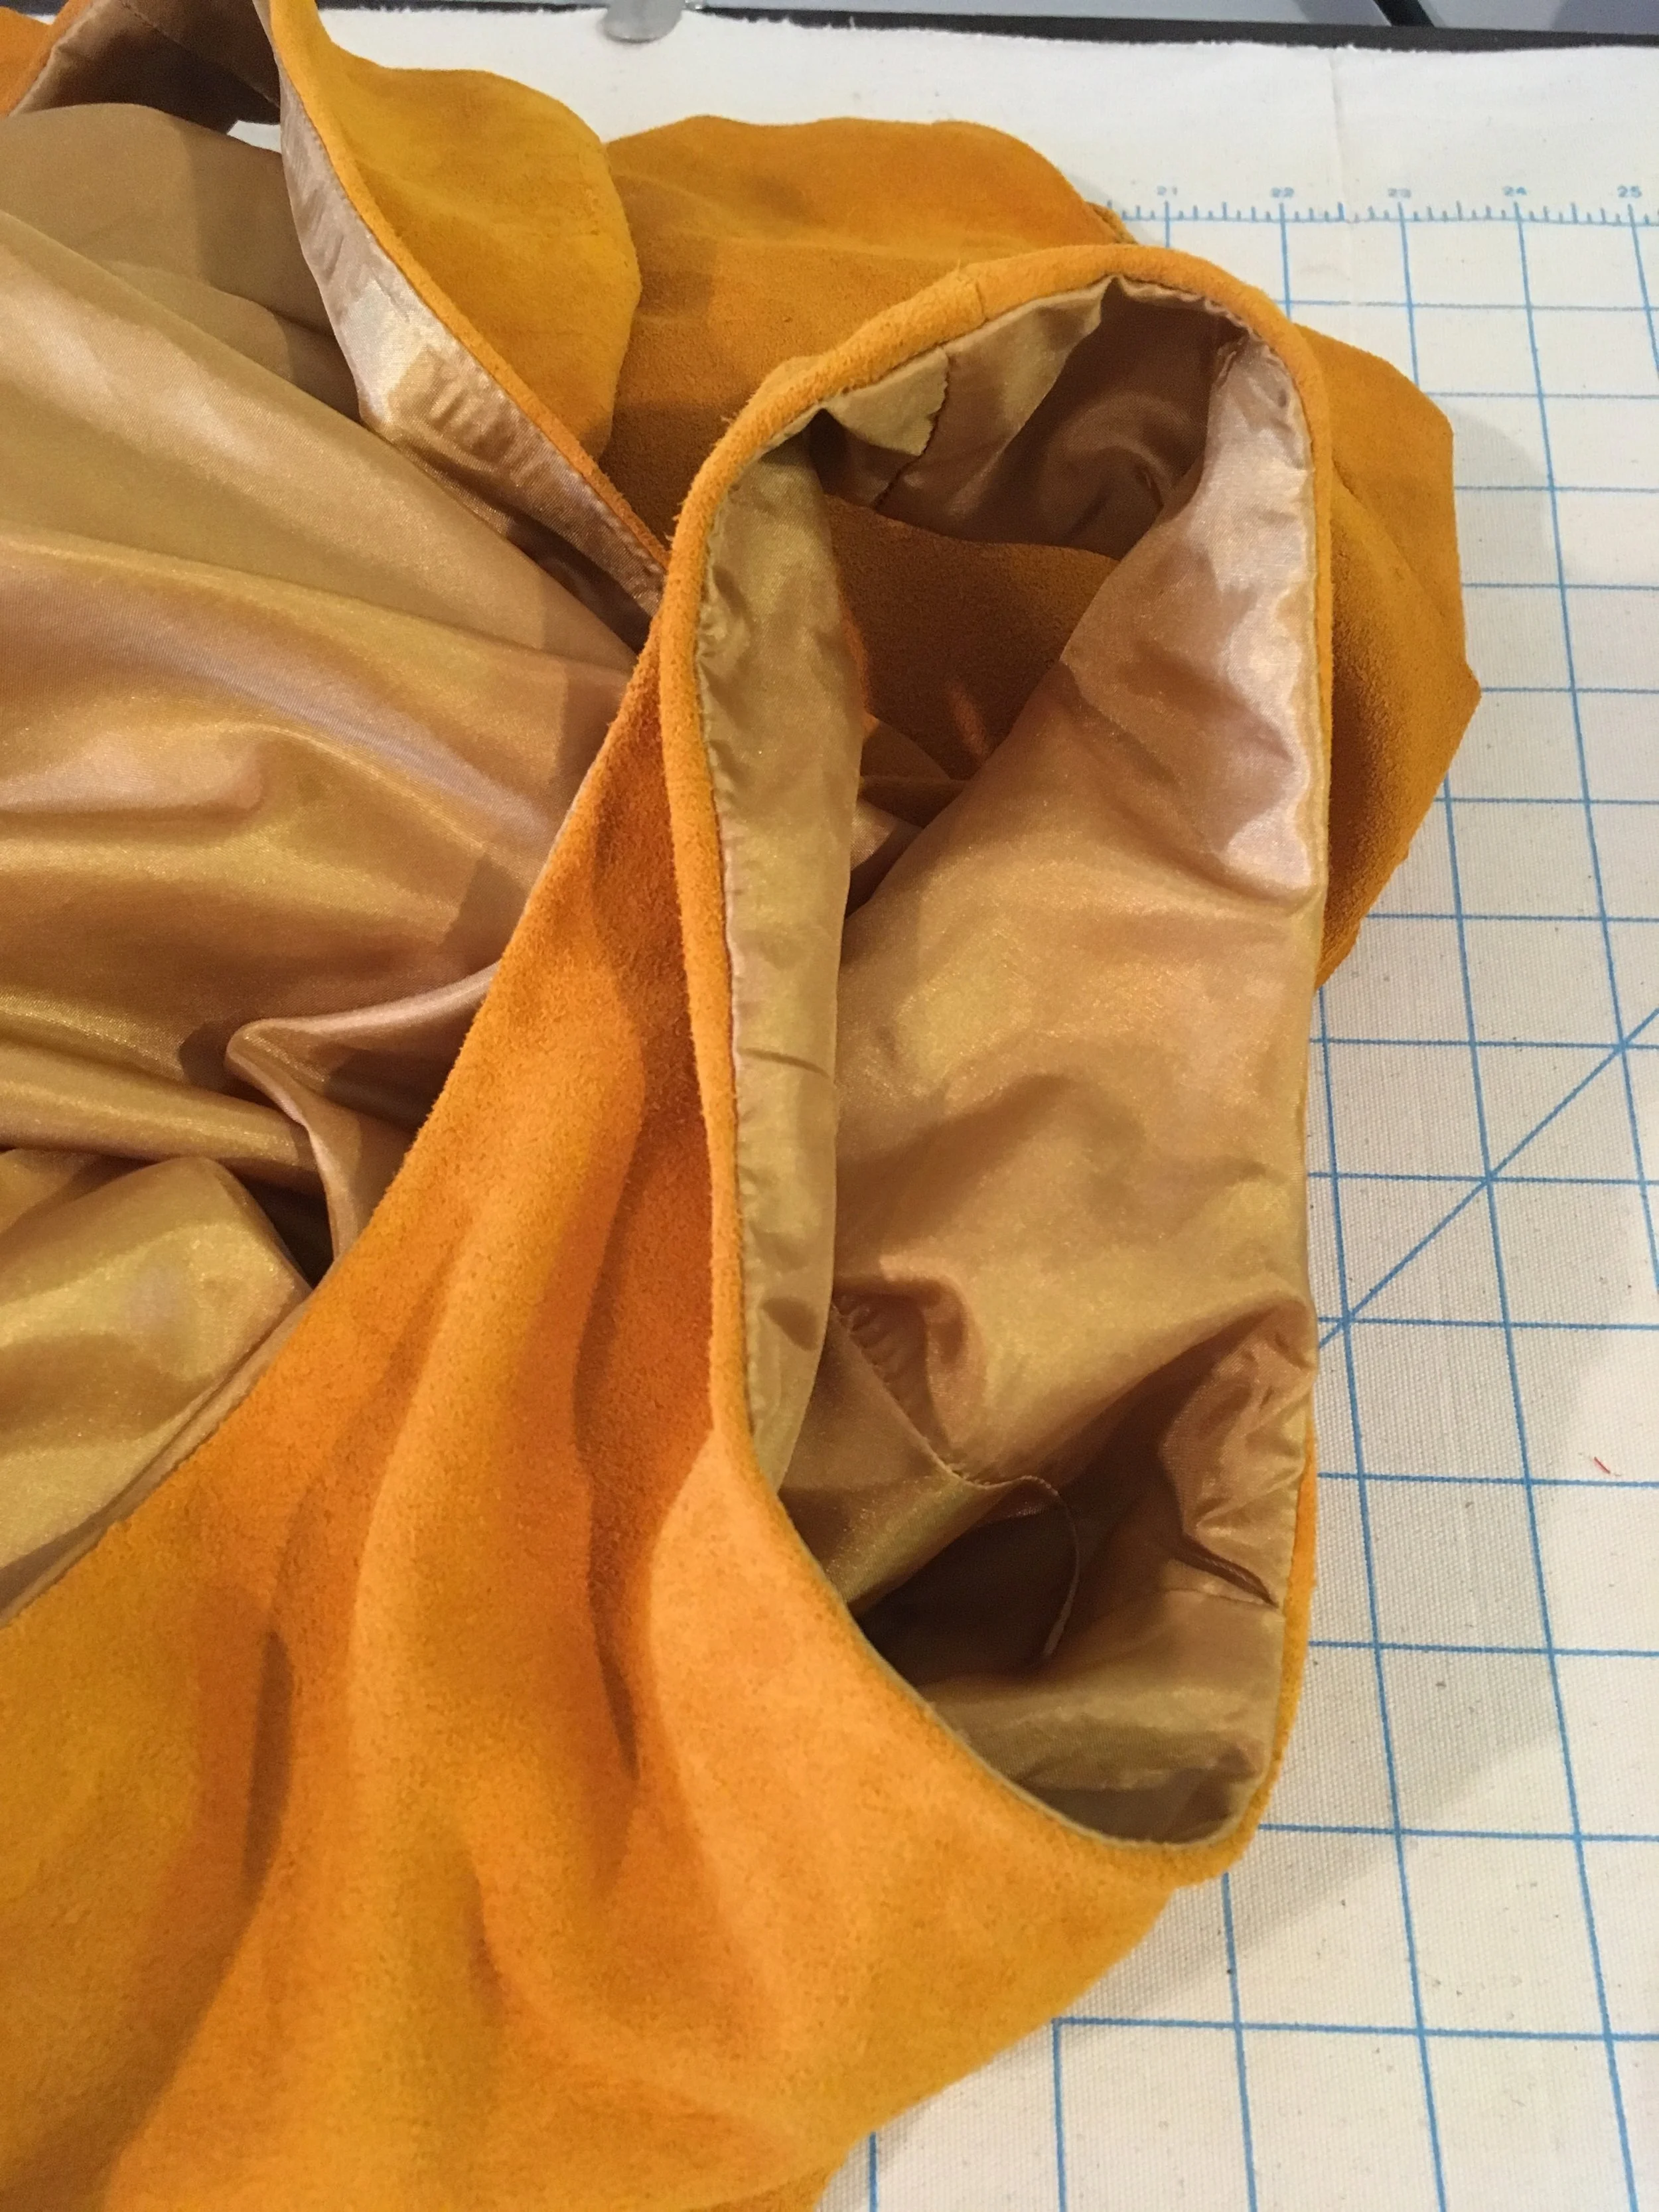
As shown, the lining is attached around each armhole from the inside of the garment so the seams are hidden, leaving a clean, flush armhole opening. The same was done along the neckline. Finally, the lining was just flipped so the correct side faces the inside, hanging loose, with a simple double-turned hem.
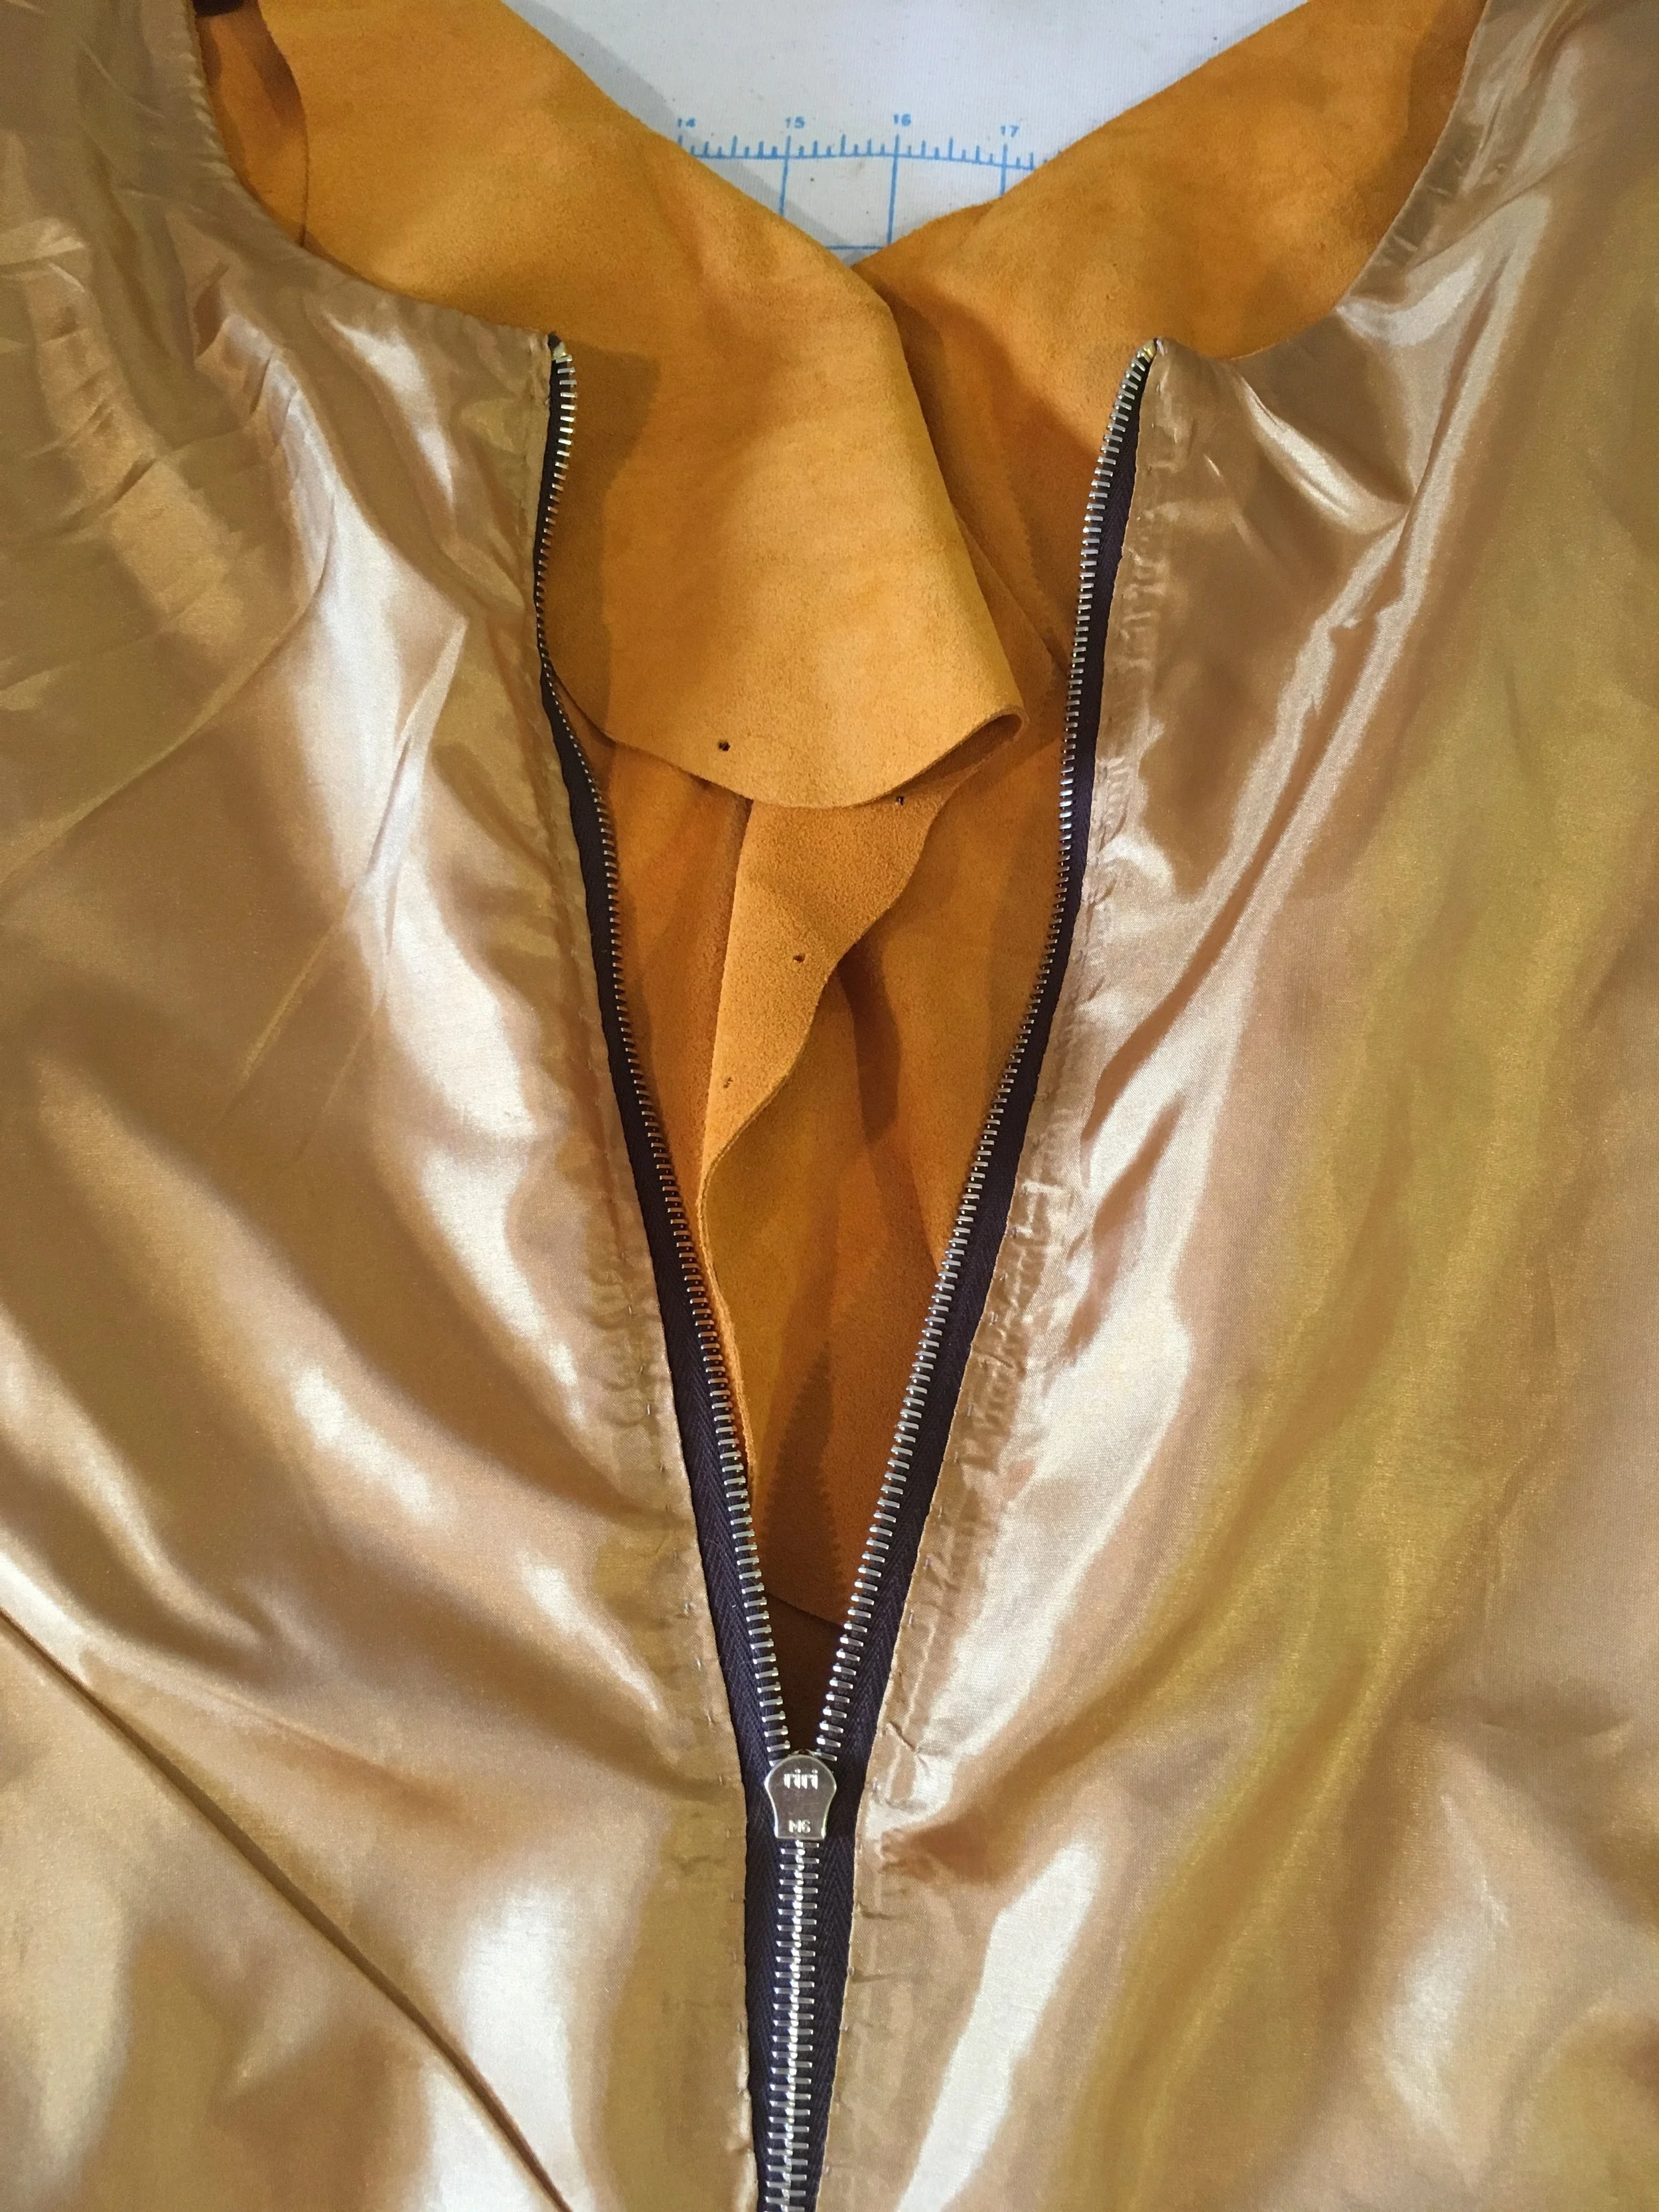
Lining secured to the zipper.
This is the point at which I’d settle in next to my iron with my sharp needle and thread and start hand picking the lining to close in the zipper, but again, this is leather…so I won’t get away that easy!
It turns out this was another job for the basting tape! I situated the tape between the folded lining edge and zipper, leaving enough room for the zipper pull to glide over the teeth freely, and gently pressed and smoothed the layers together. I finished it up with small stitch, barely visible, between the tunnel of the lining fold and the fabric tape of the zipper, just for a little extra security.
Finally the finishing touches!
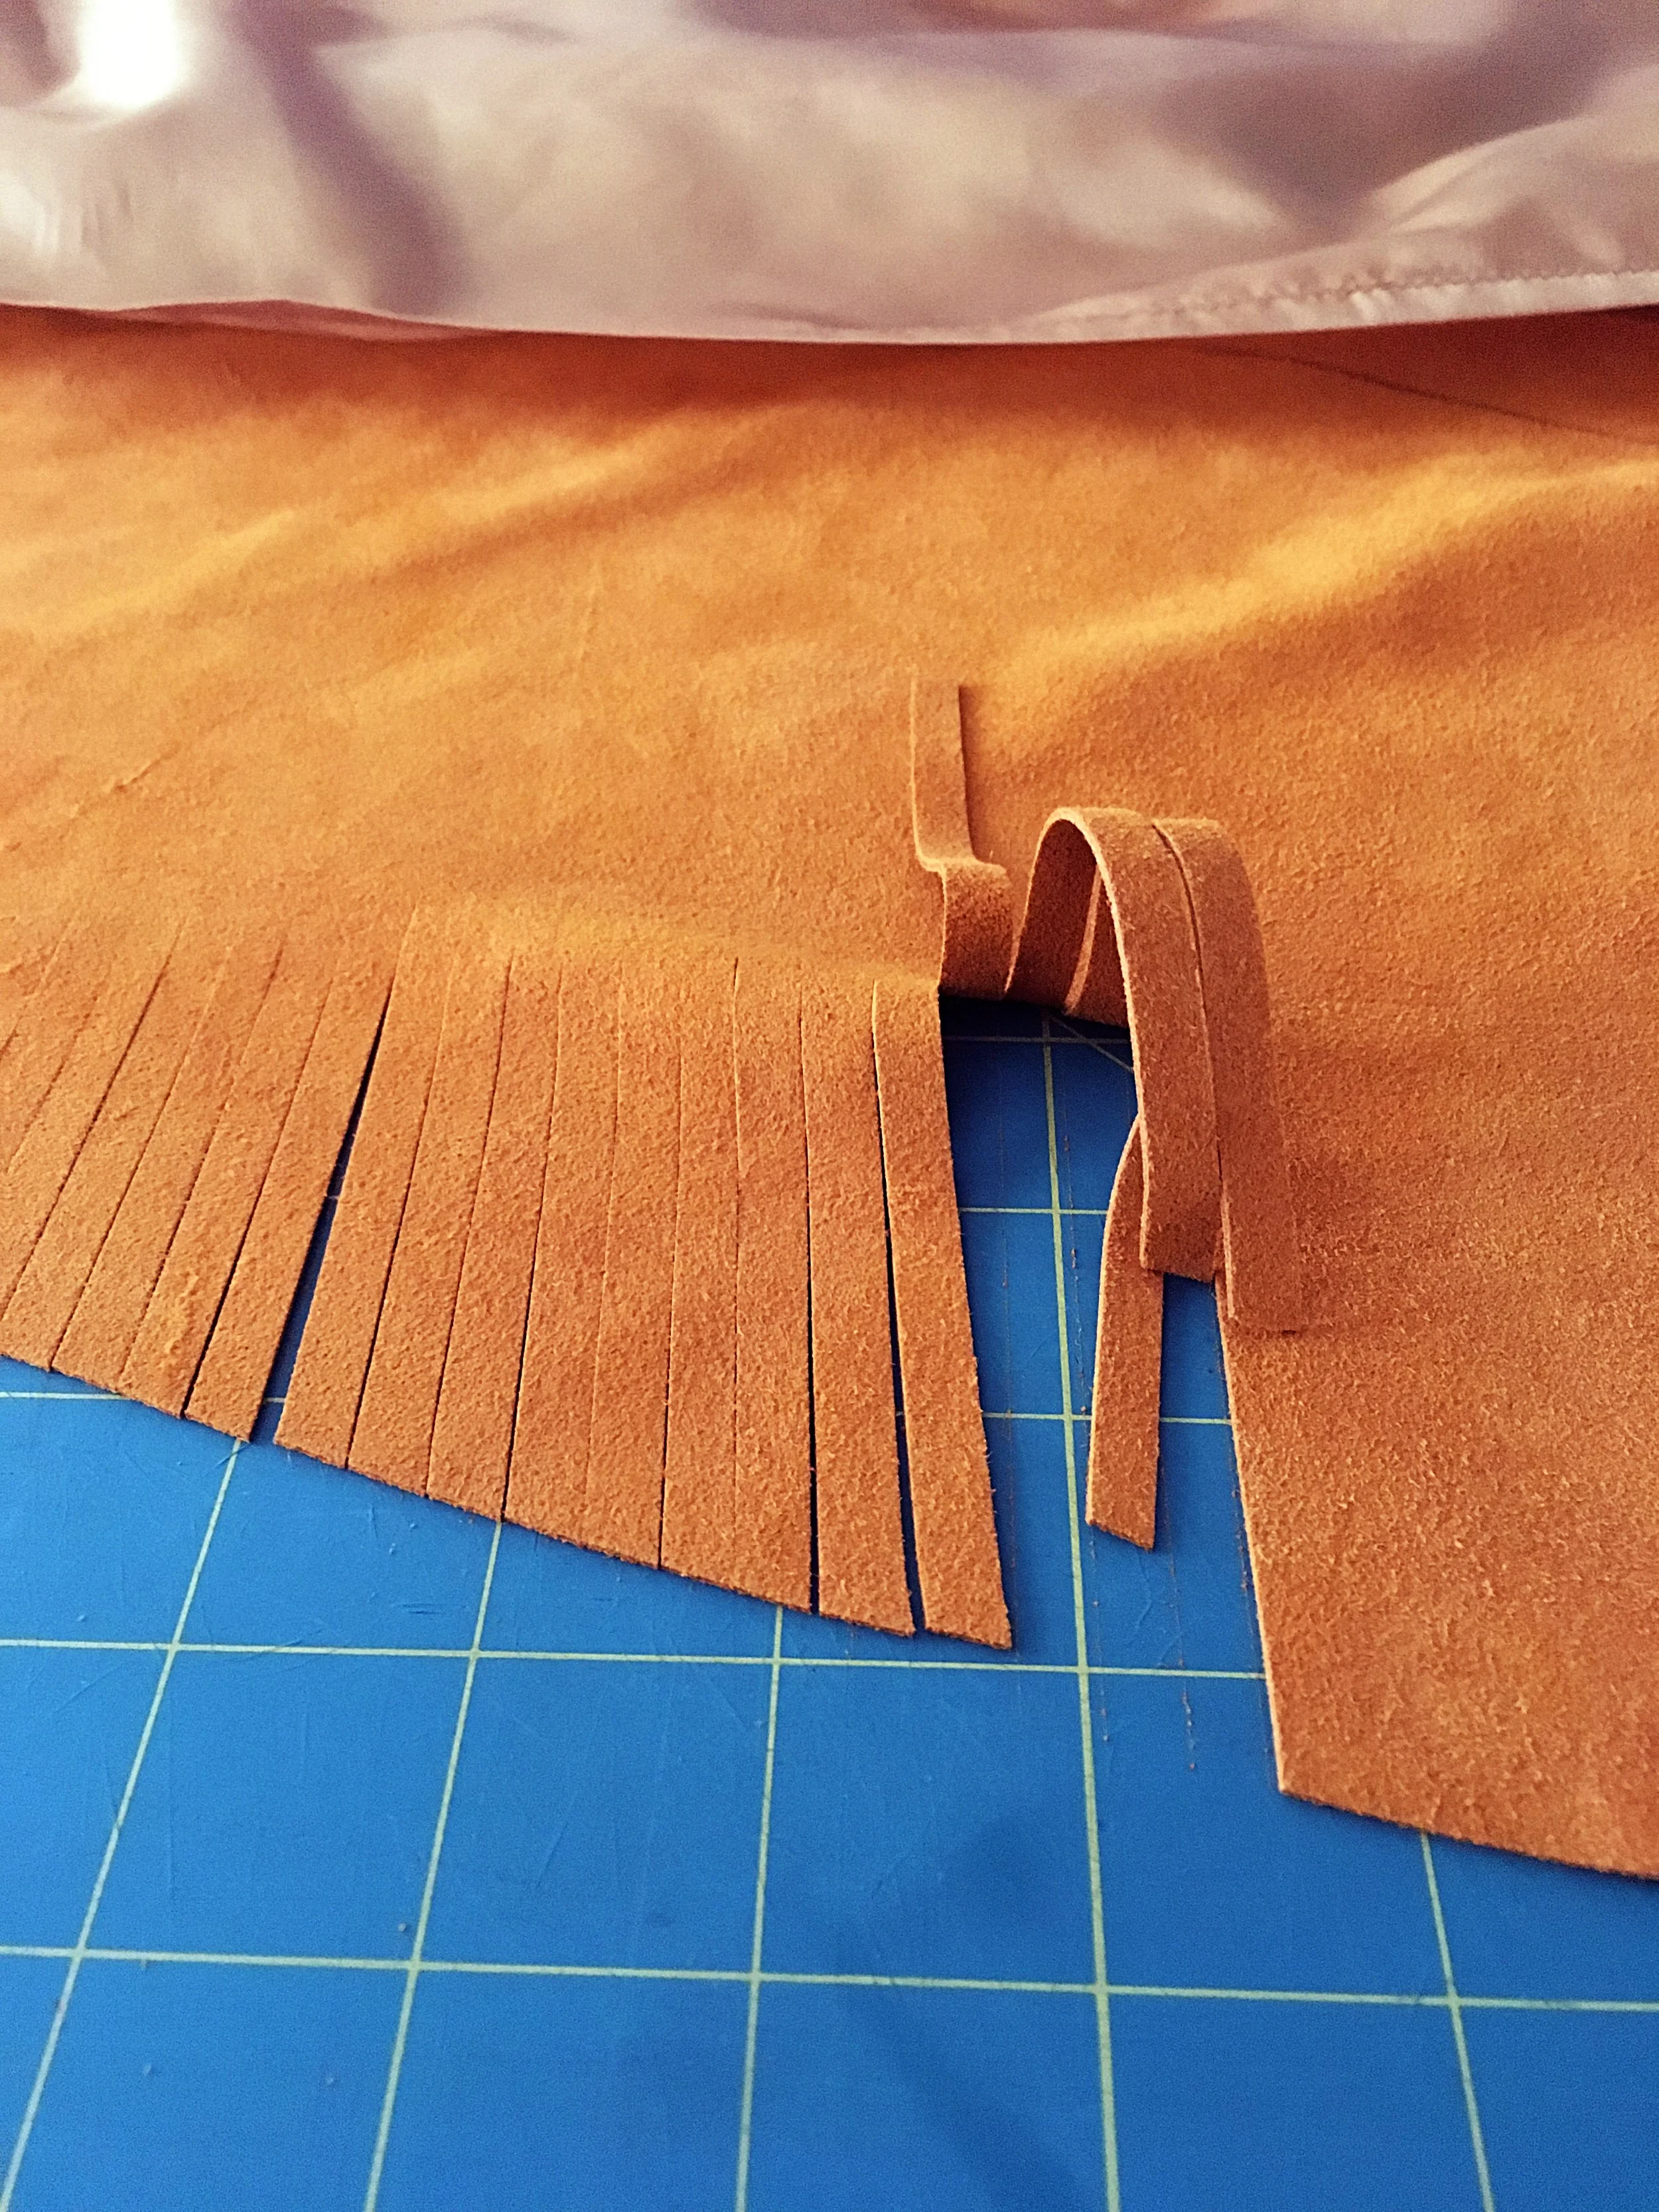
I penciled in a gently sloping guide line a few inches above the hem and started slowly slicing up to it with my rotary cutter to create a fun and flirty fringe effect!
The key with fringes is uniform slices and a rotary cutter is a life saver in this case!
Now we’ll add just a few tassels to top everything off!
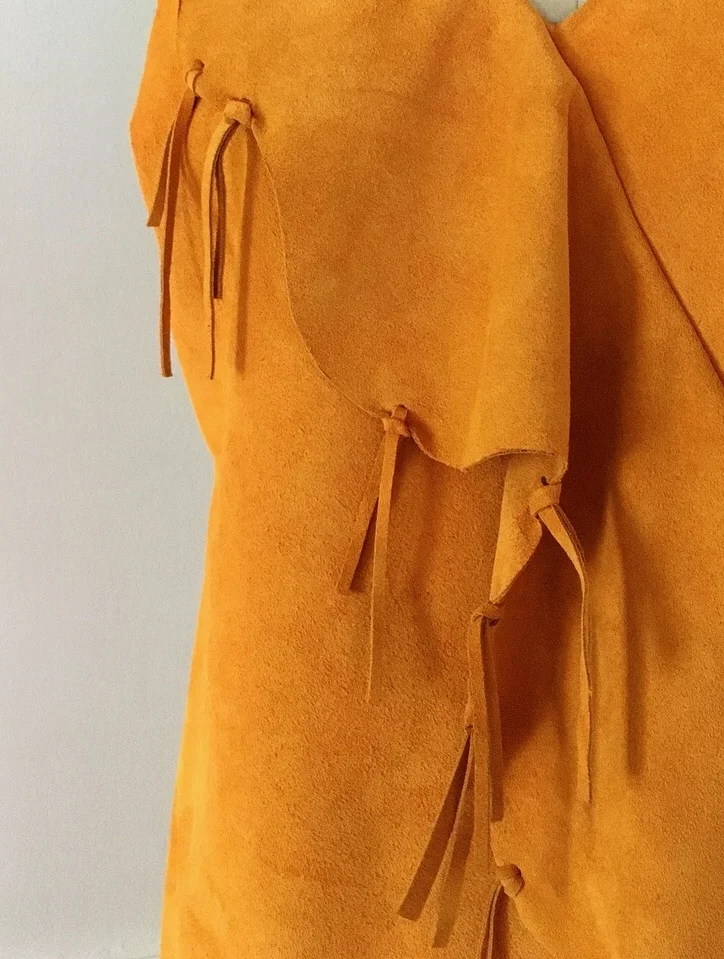
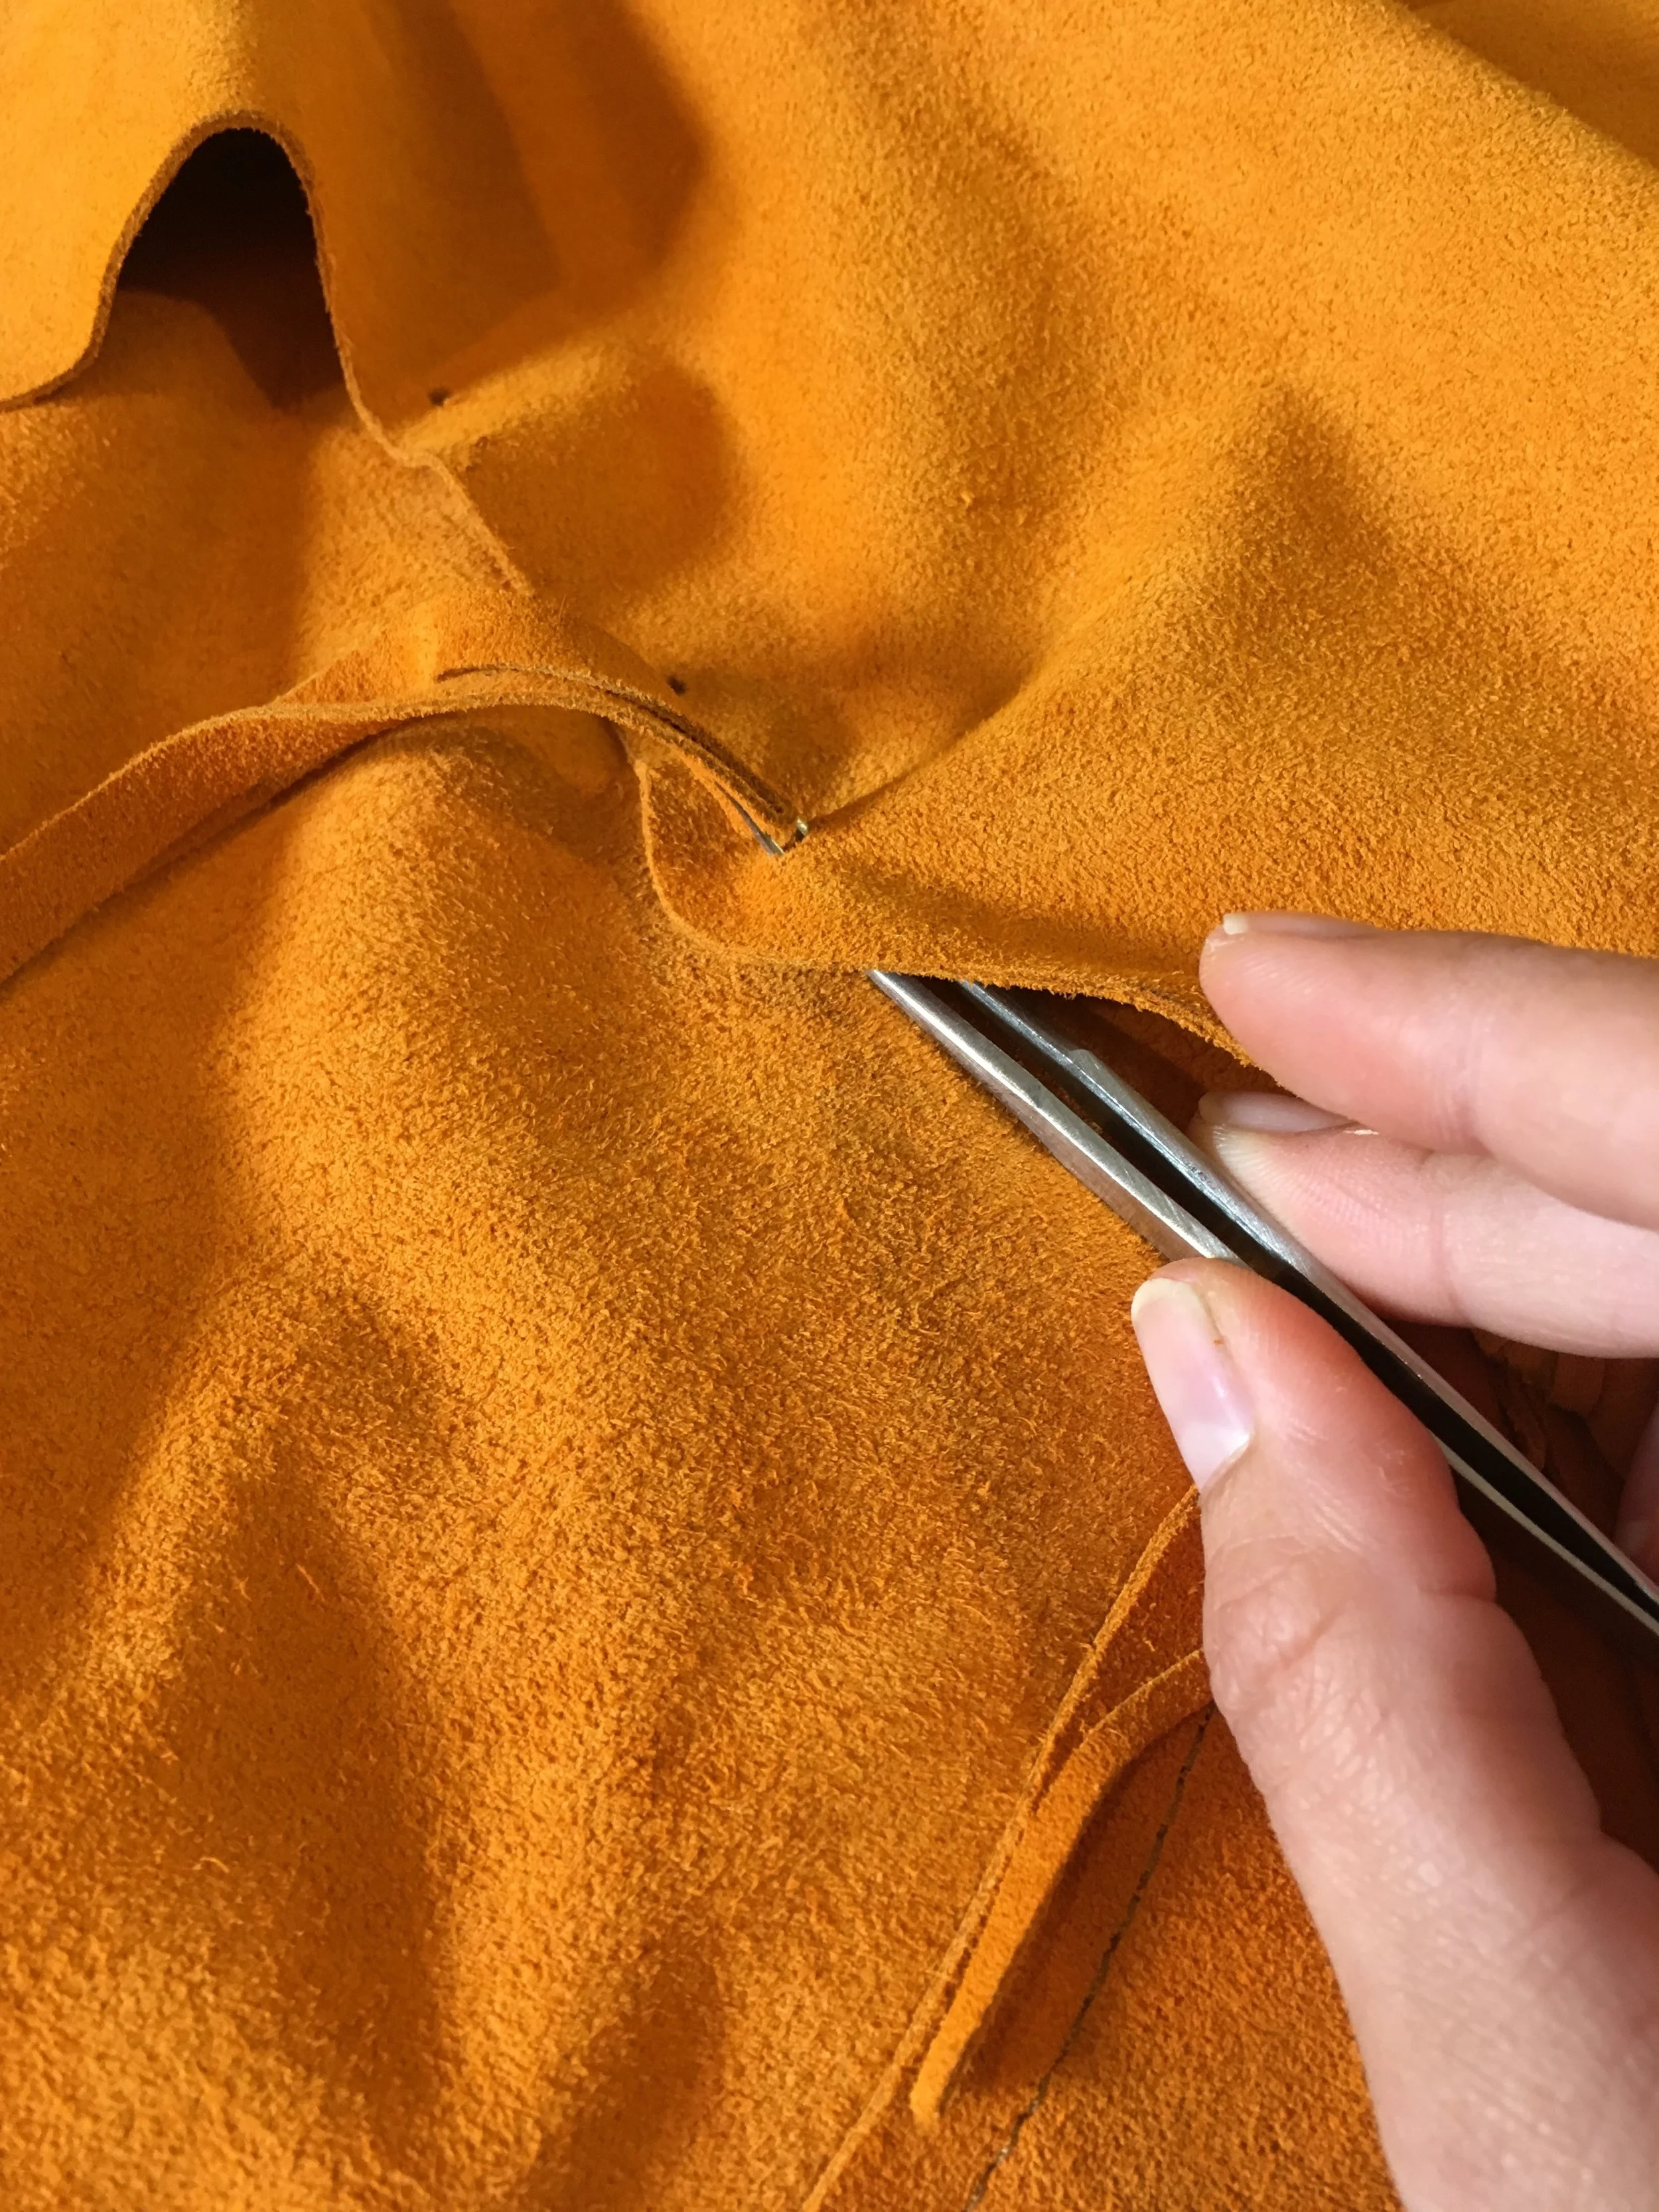
I punched small holes with a borrowed leather punch at random along the front flounce about 3/8” in from the edge. Then I just slid my tweezers in from the back and pulled through a loop of a folded leather stip. (I cut these 1/4” strips earlier while I was finishing up the fringe when I still had my rotary and mat out. I squeeze in the efficiencies where I can!)
With enough of the loop through, I slipped the loose ends of the strip through the loop to make a small tight knot. And just to make sure nothing loosens over time, I dabbed a tiny bit of glue behind the center of each knot.
Here I’m pulling just the loop of the soon-to-be tassel through the punched hole.
The completed tassel! Just a few more to go..
Annnnd That's it! The dress is complete.!
Full Front View
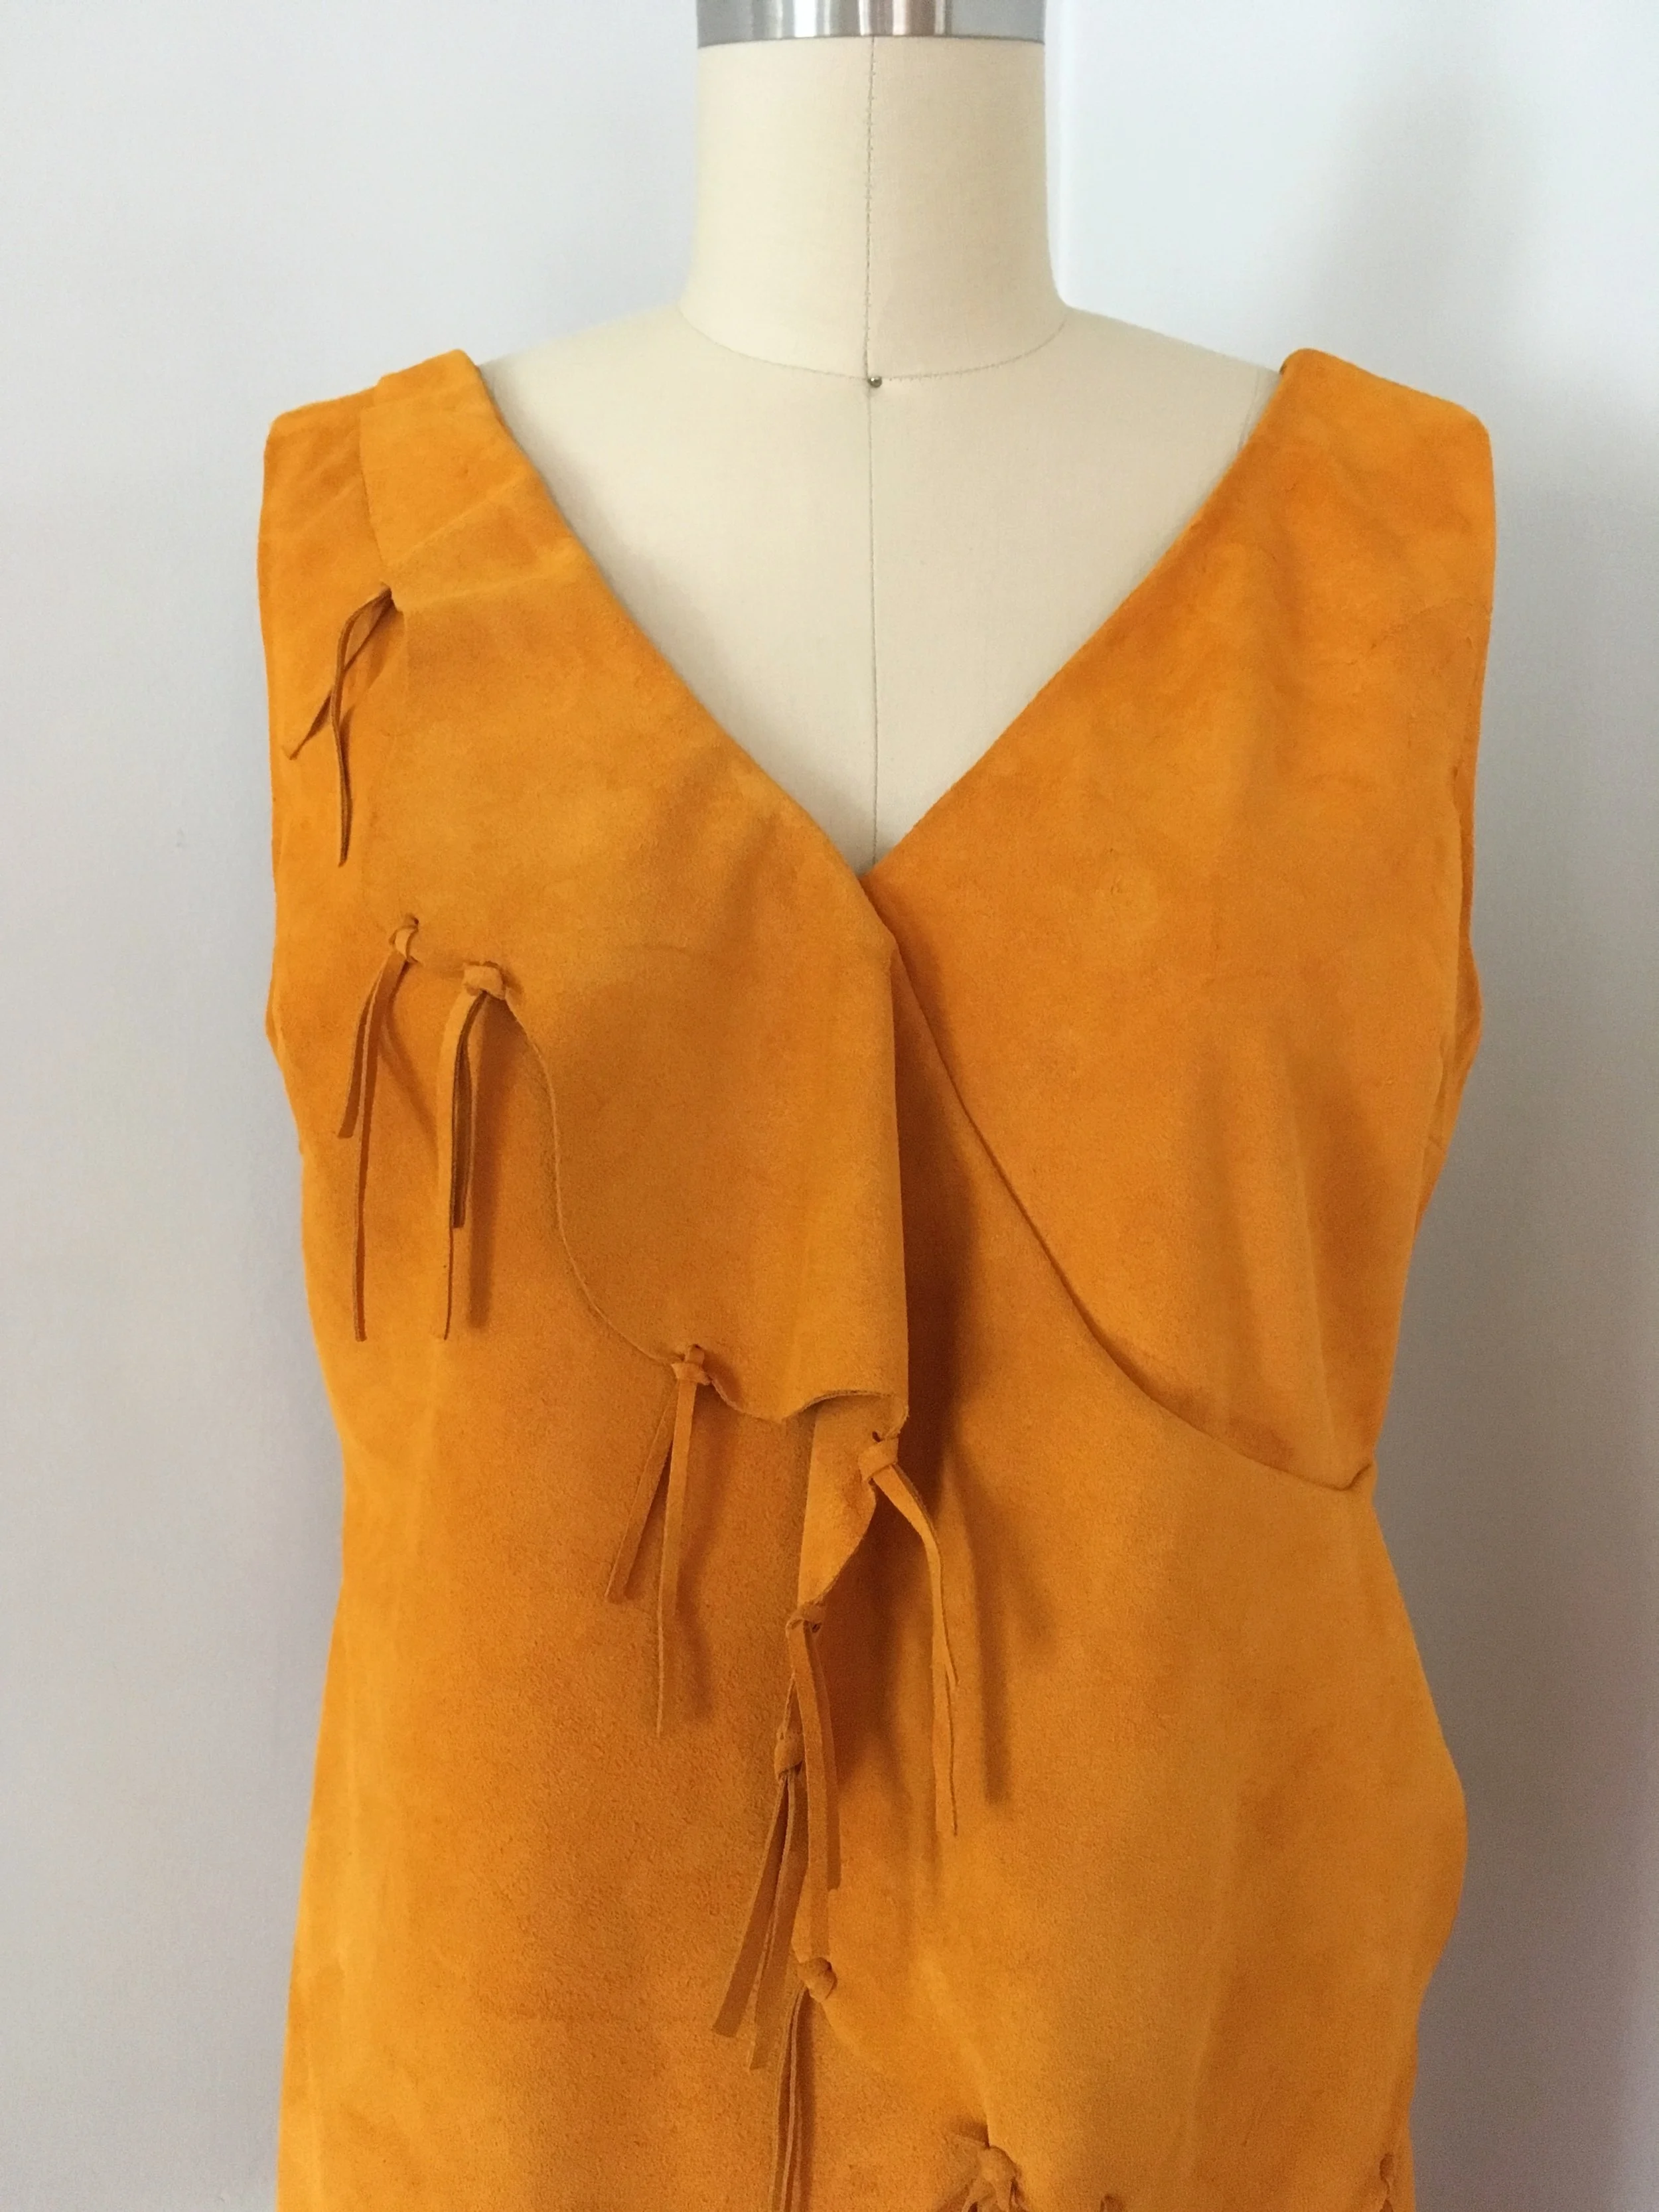
Bodice Close-Up
The Tasseled Flounce
Full Back View
Side Slit with Fringe
Just can’t get enough fringe!
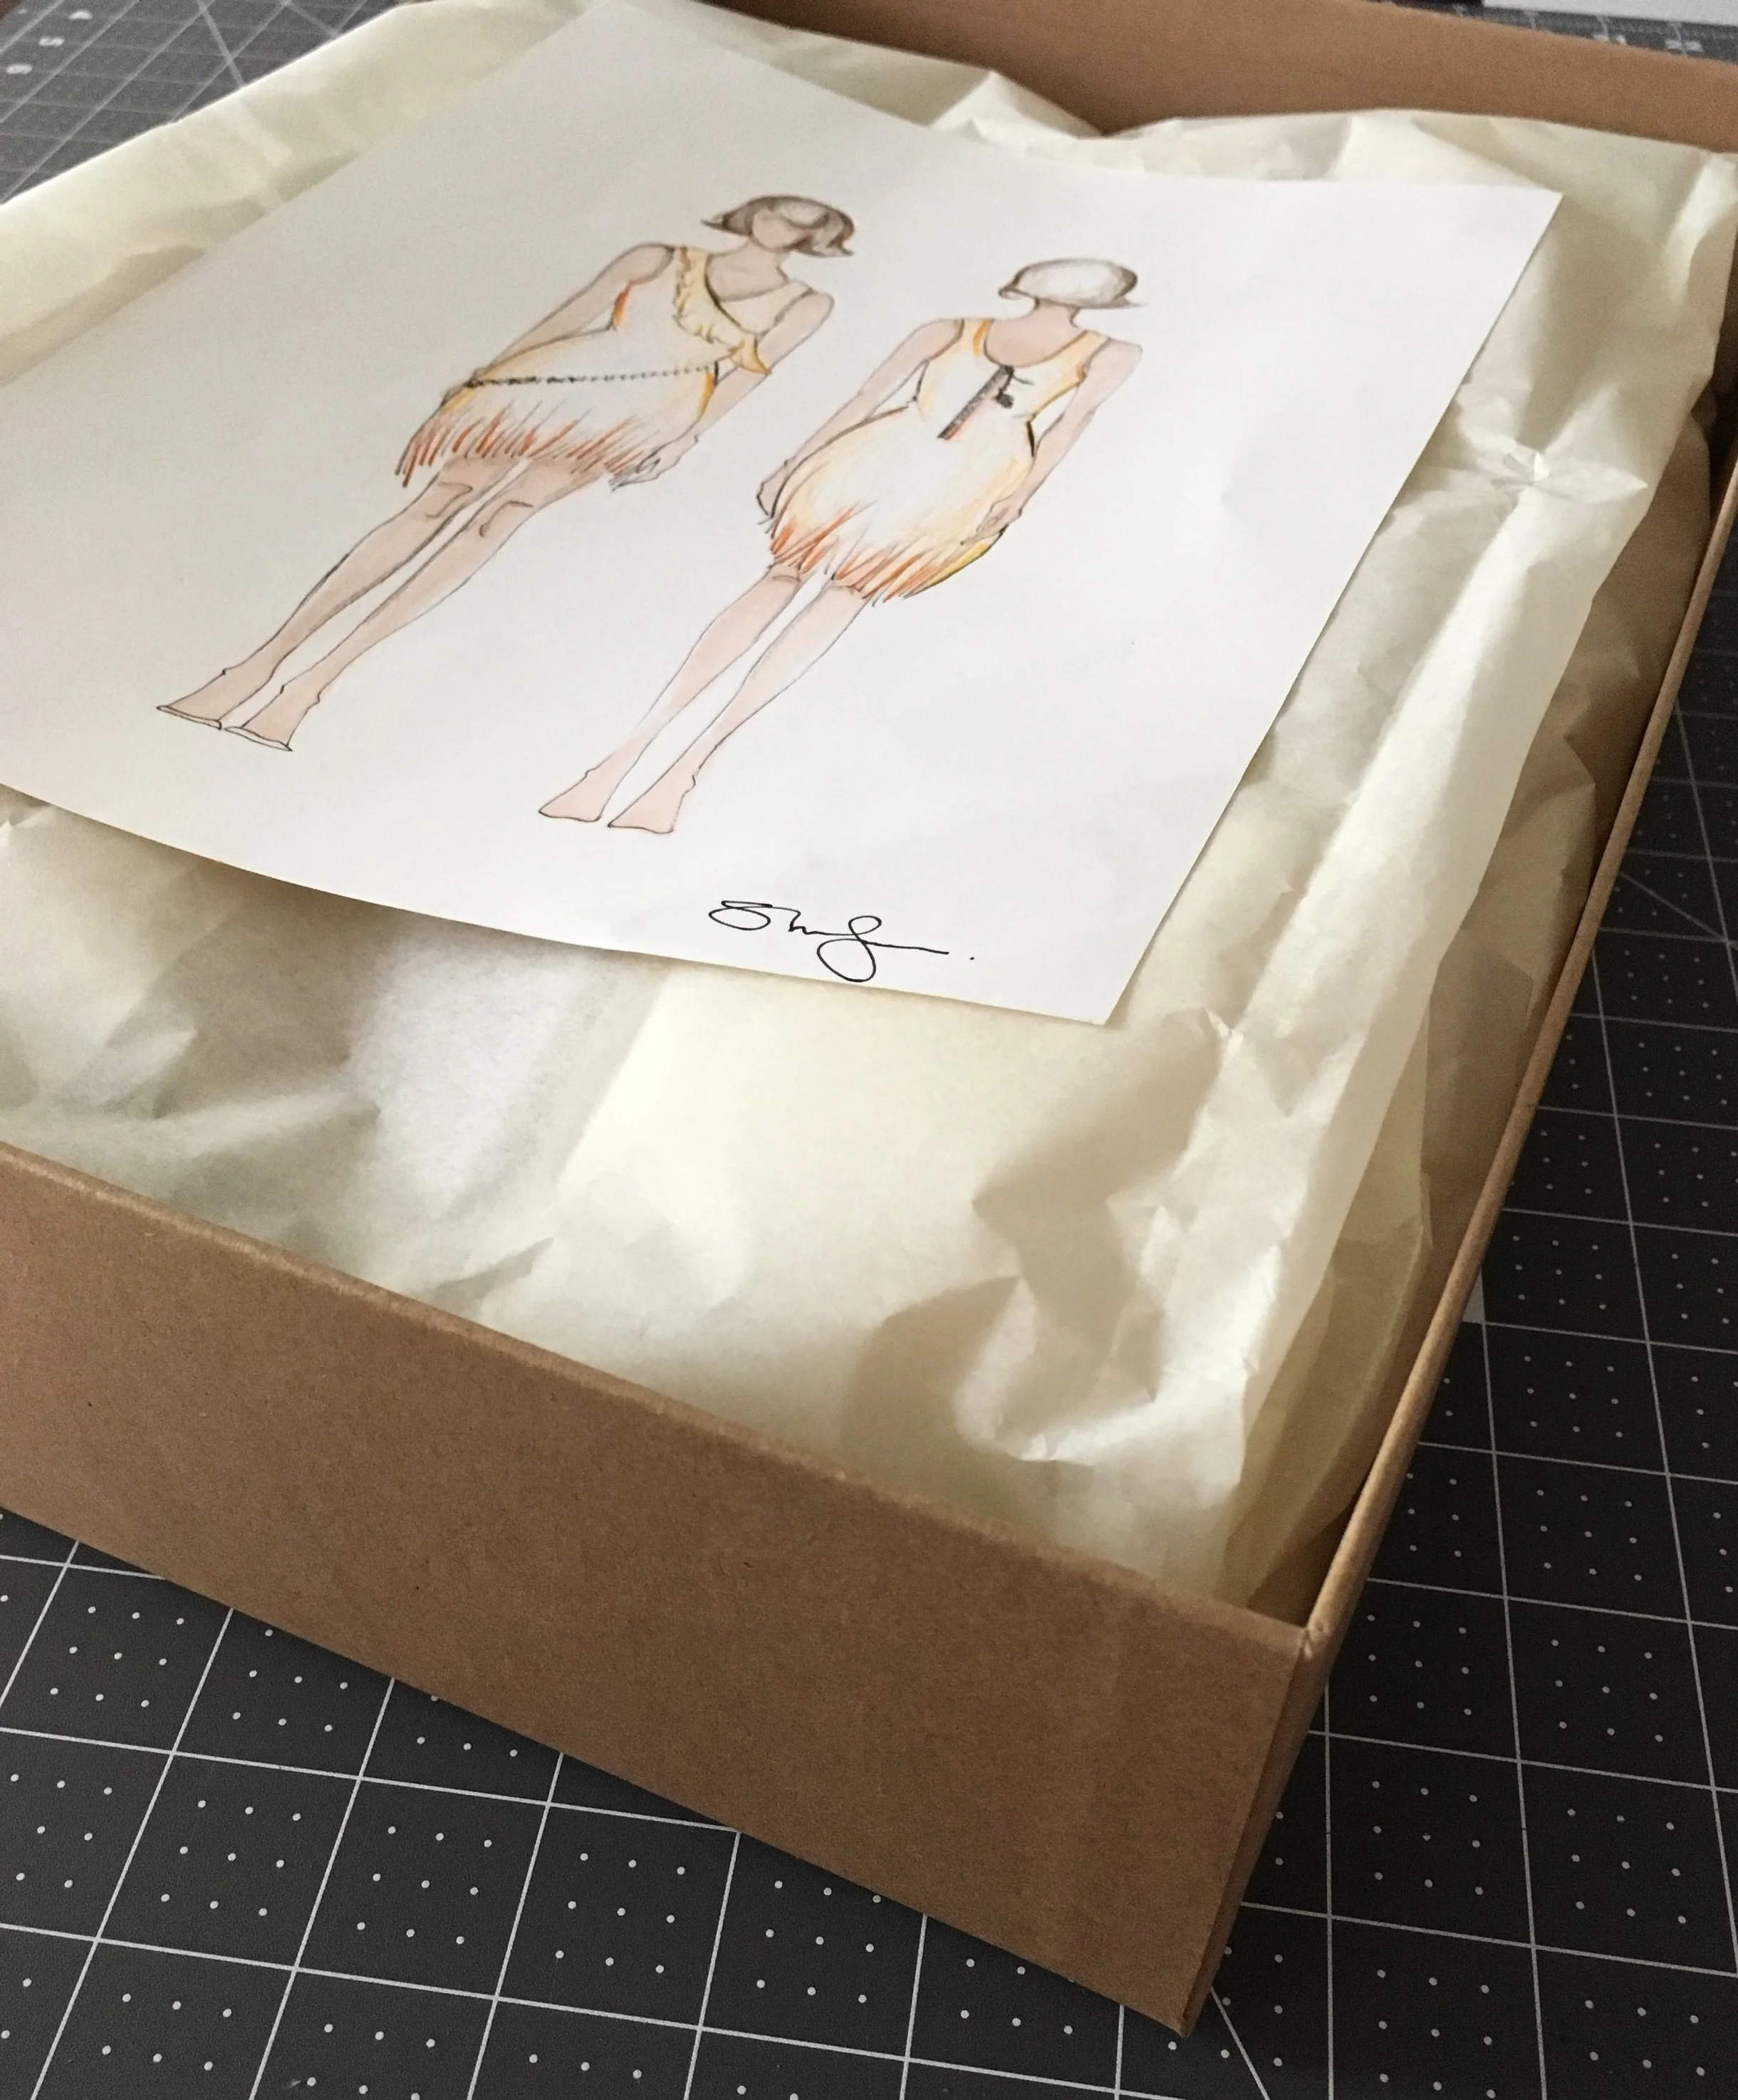
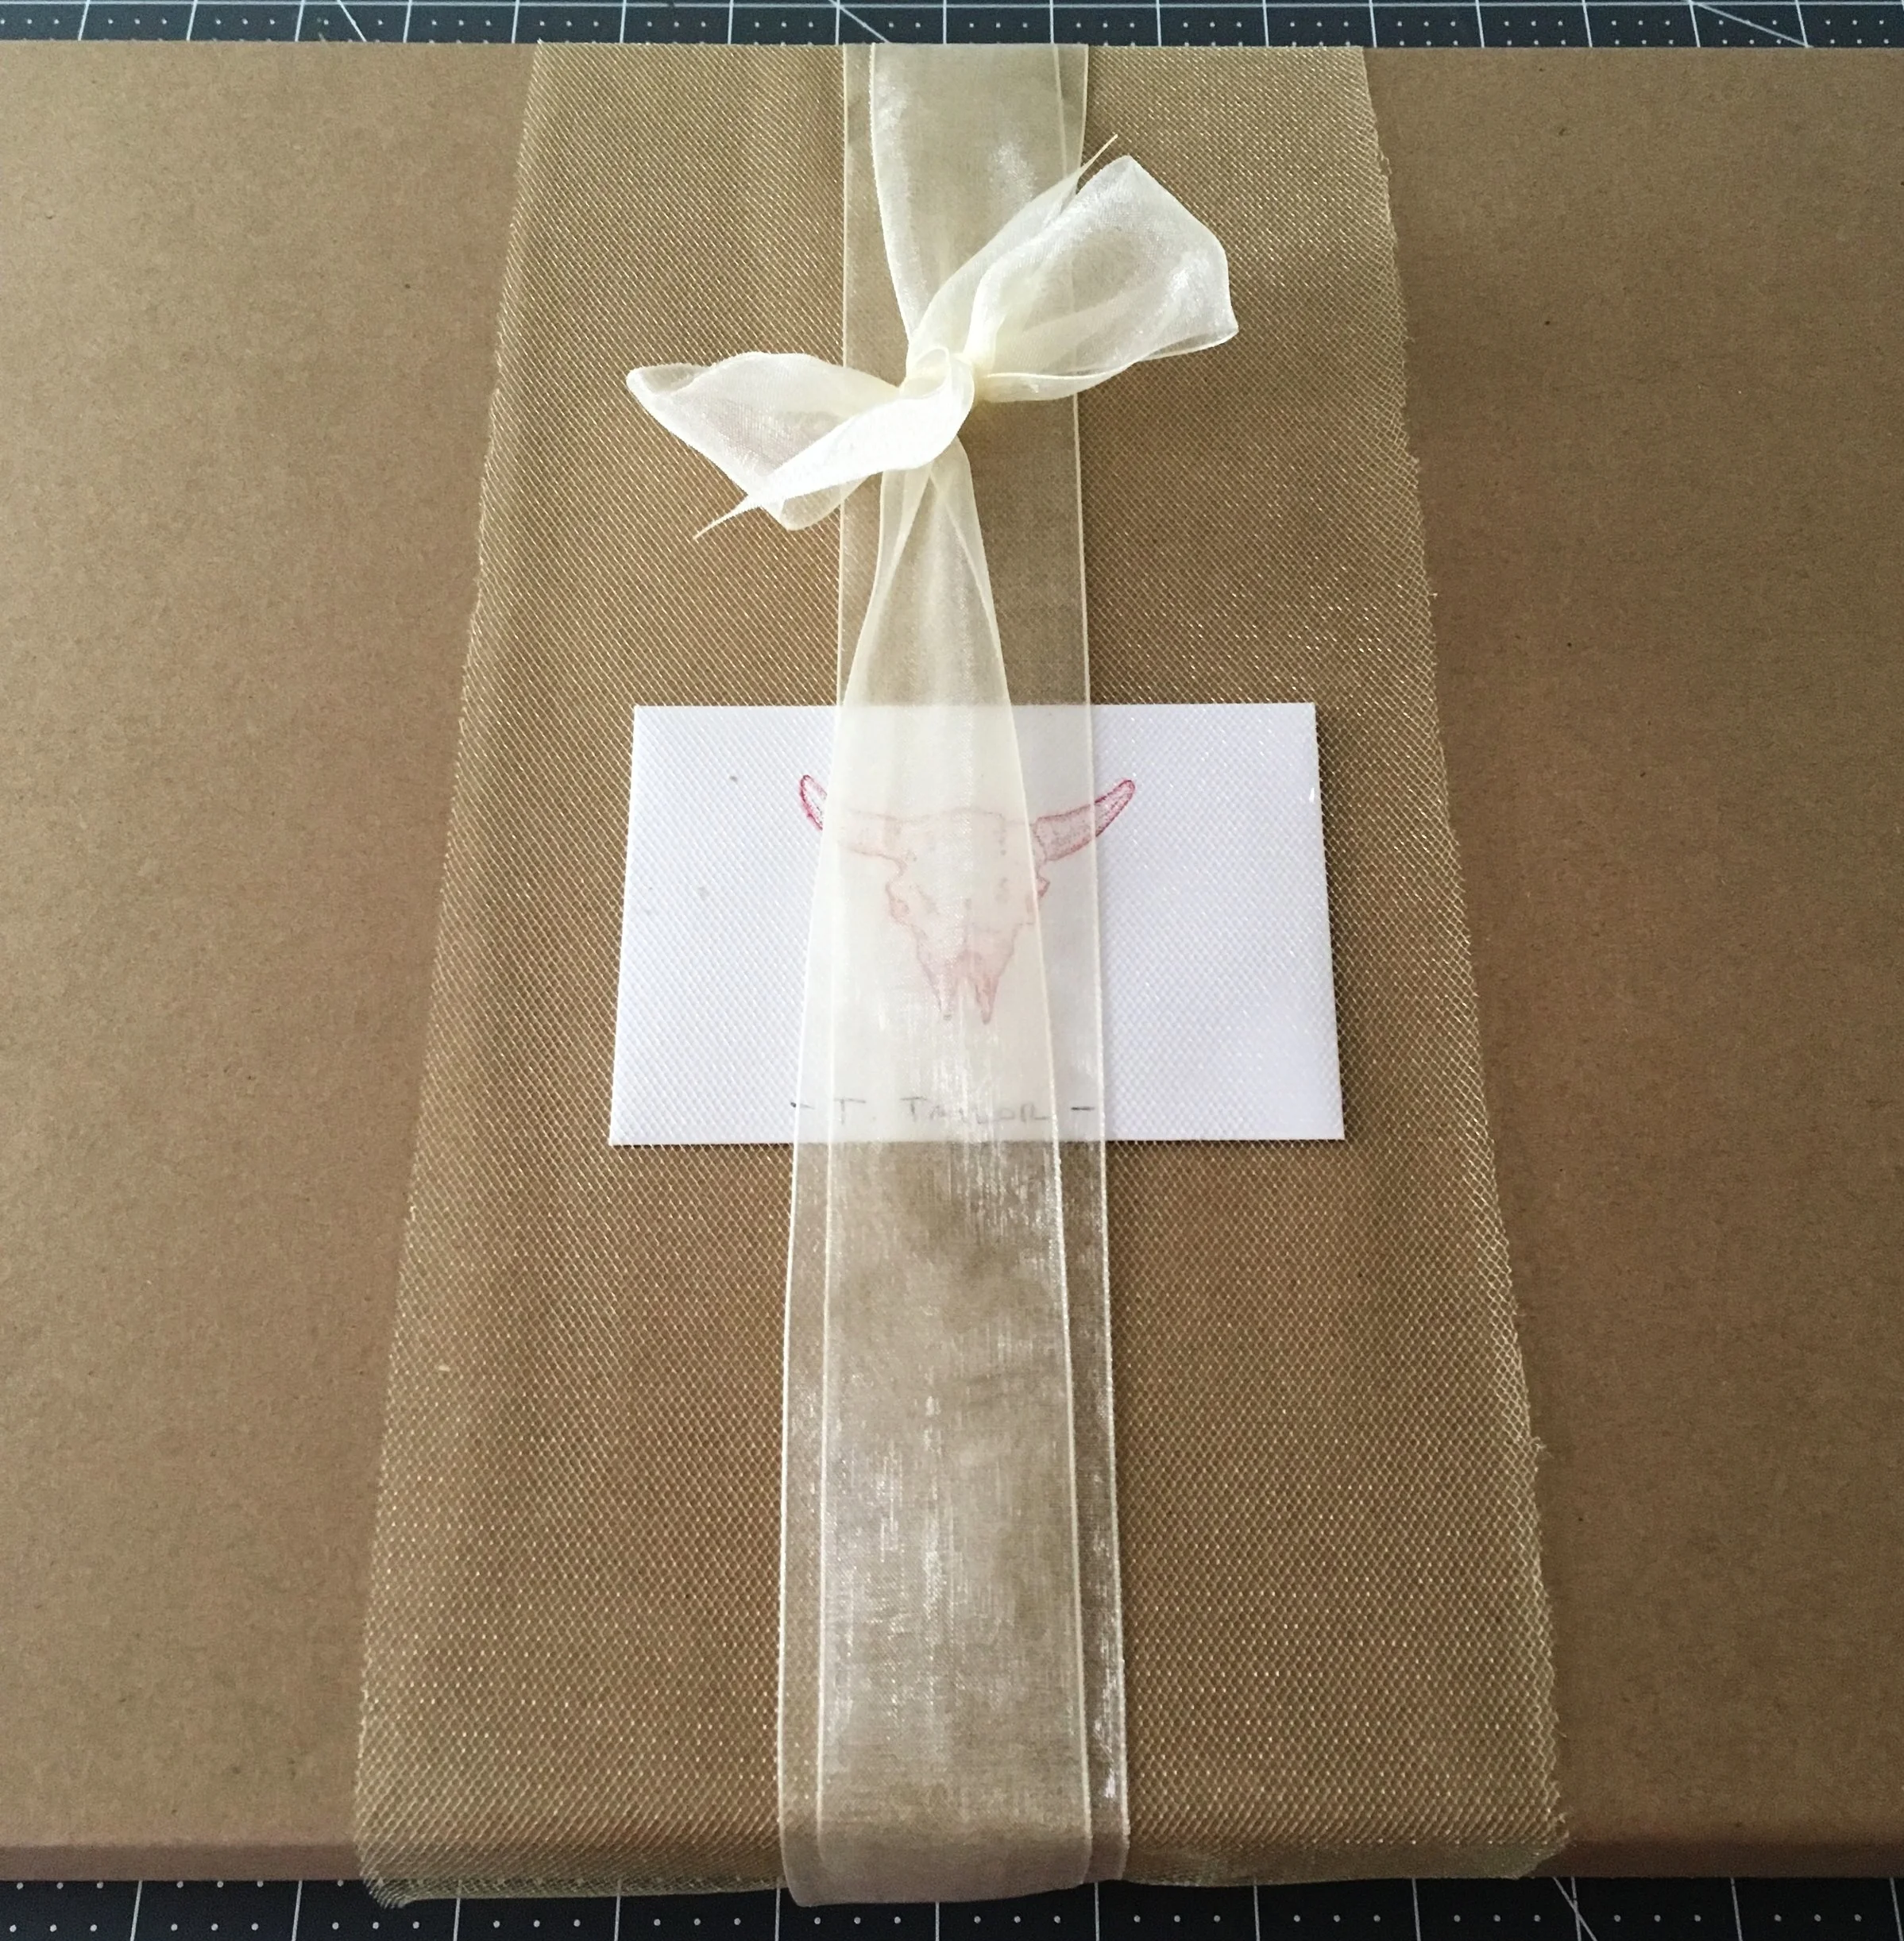
I like to include the original sketch in the final package as a keepsake for the client.
All wrapped up and ready for delivery!
Actually… there is one more thing…
It’s custom, and superstition, that couturiers will not stitch the tag into the garment until the final fitting is complete, as it’s bad luck. And I am not one to mess with superstition. So once the final fitting is complete, I’ll stitch the tag in right there at the last second!
The completed one-of-a-kind suede dress.
If you’ve been dreaming of a custom piece and are ready to bring it to life, feel free to each out to The Tulsa Tailor below!

